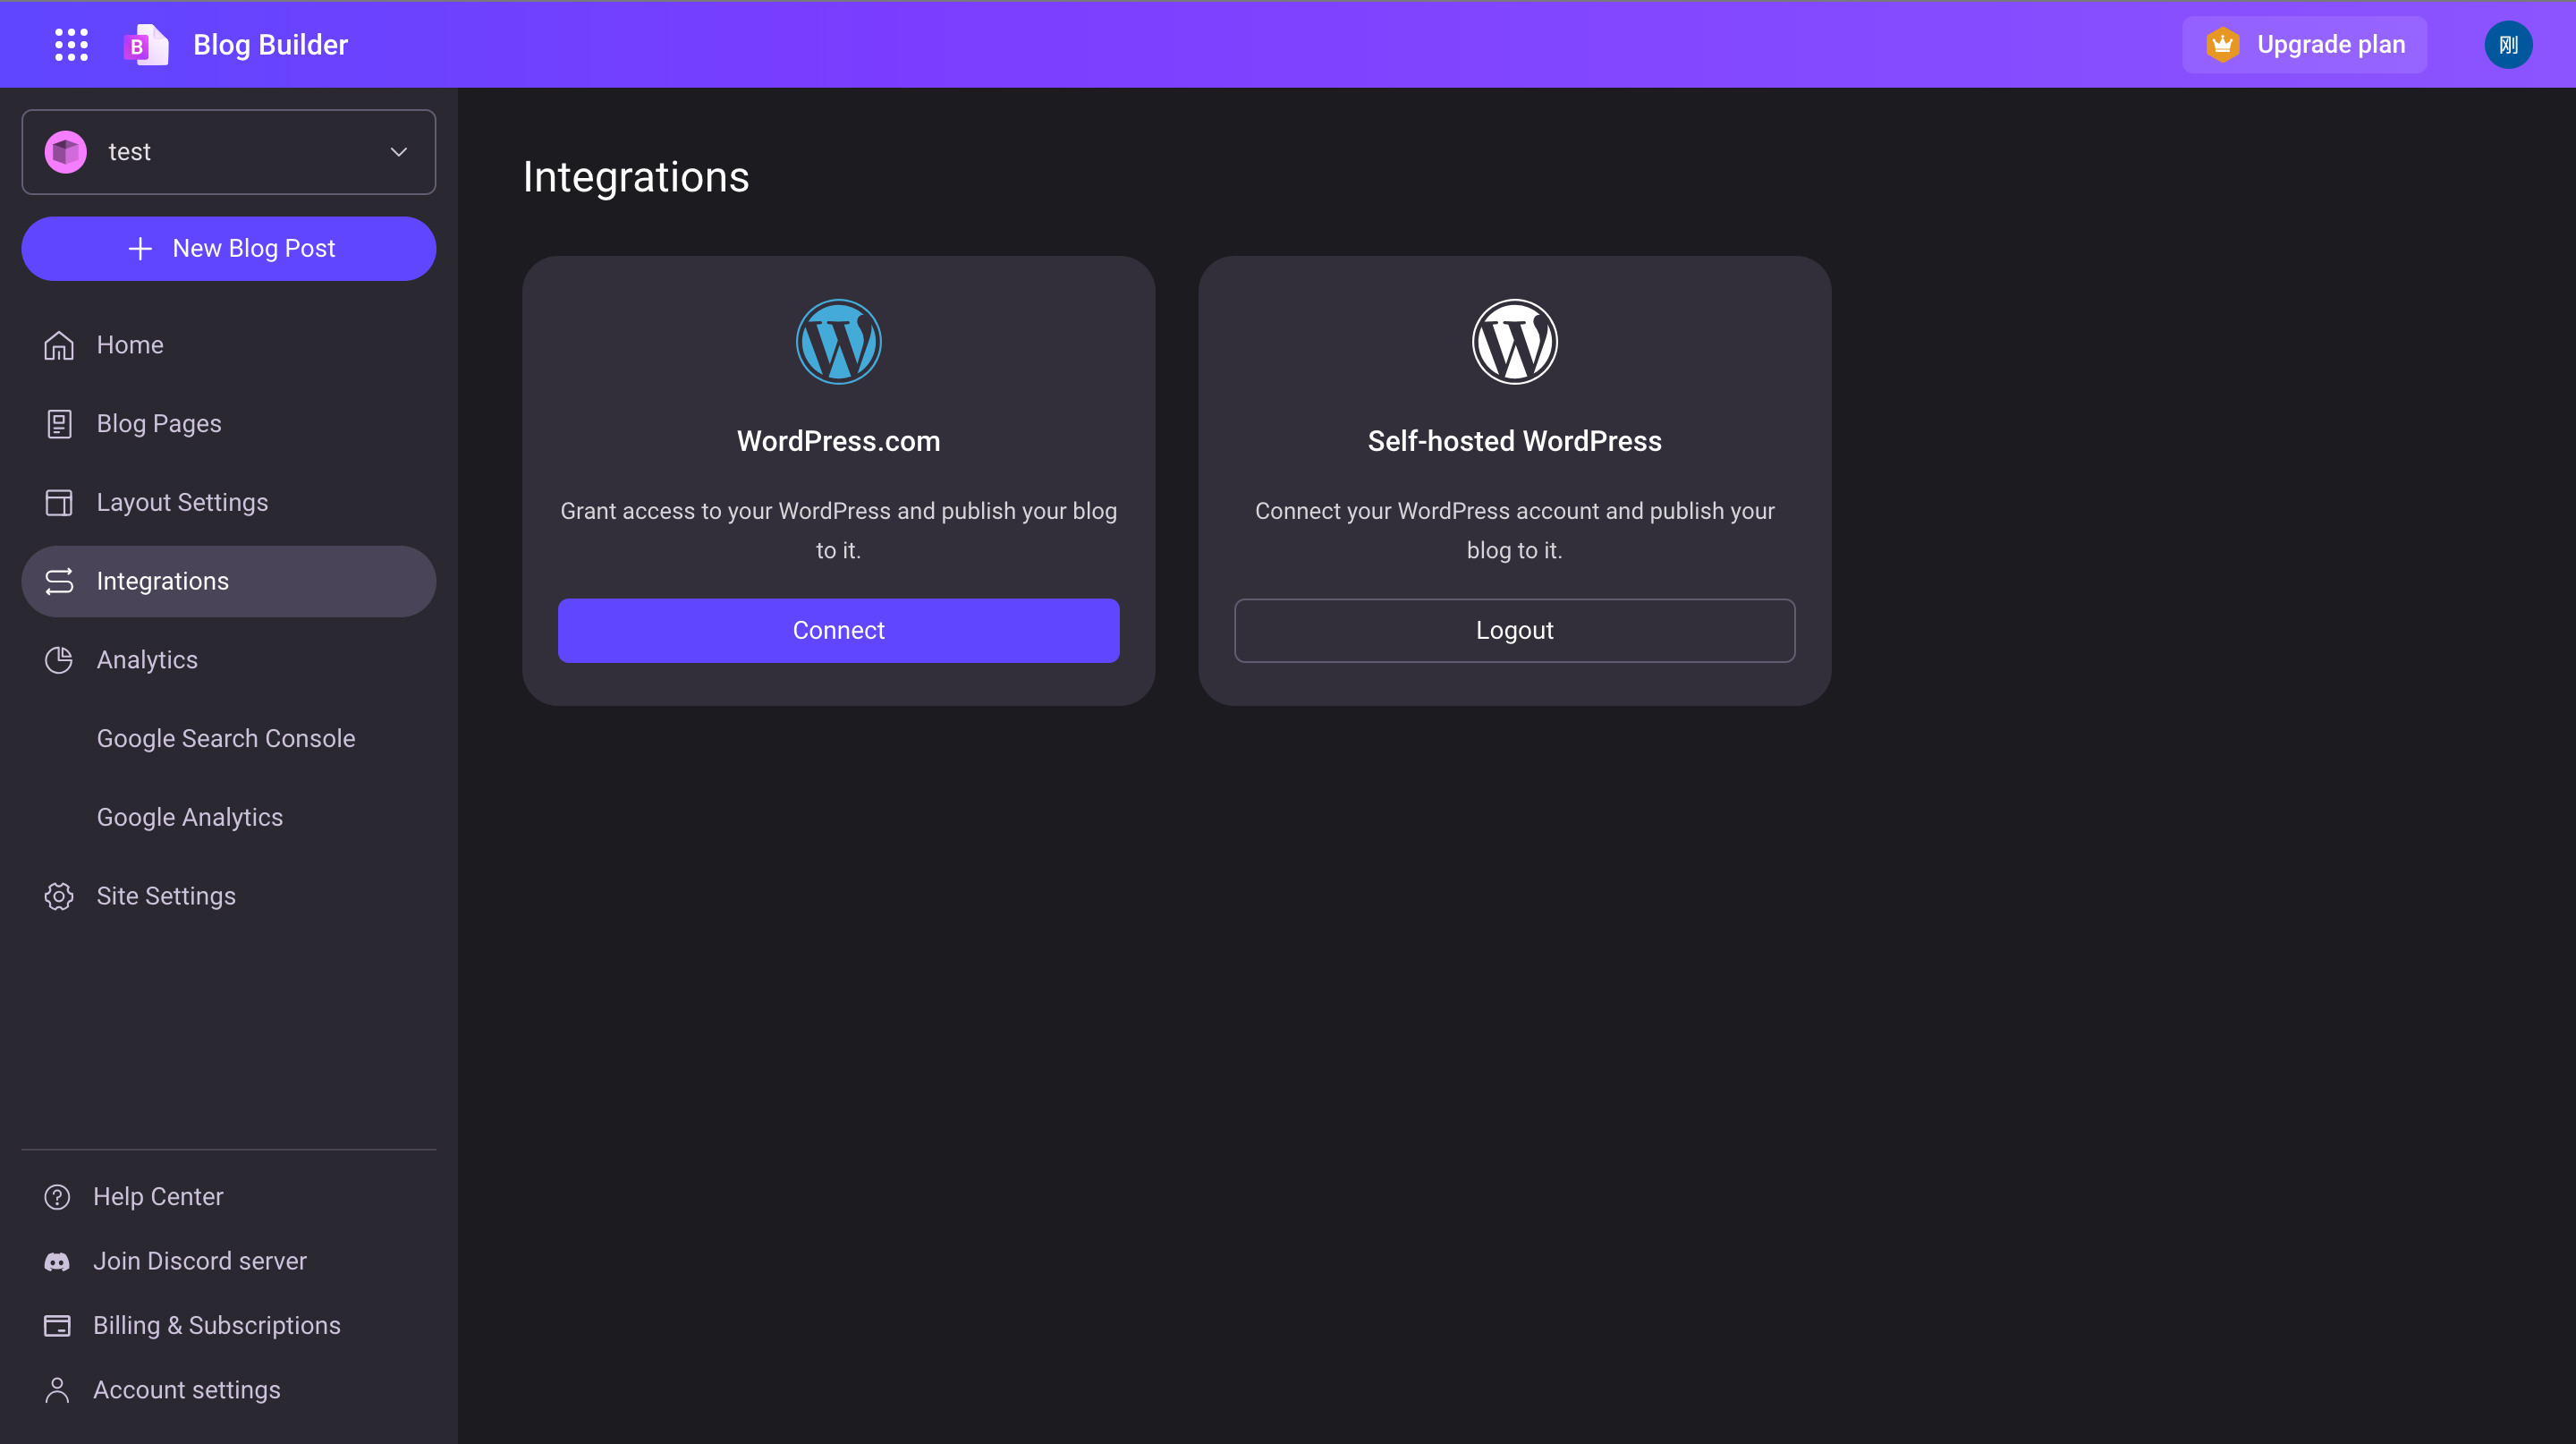
Step 1: Integrate with Self-Hosted WordPress
Open the Integrations menu
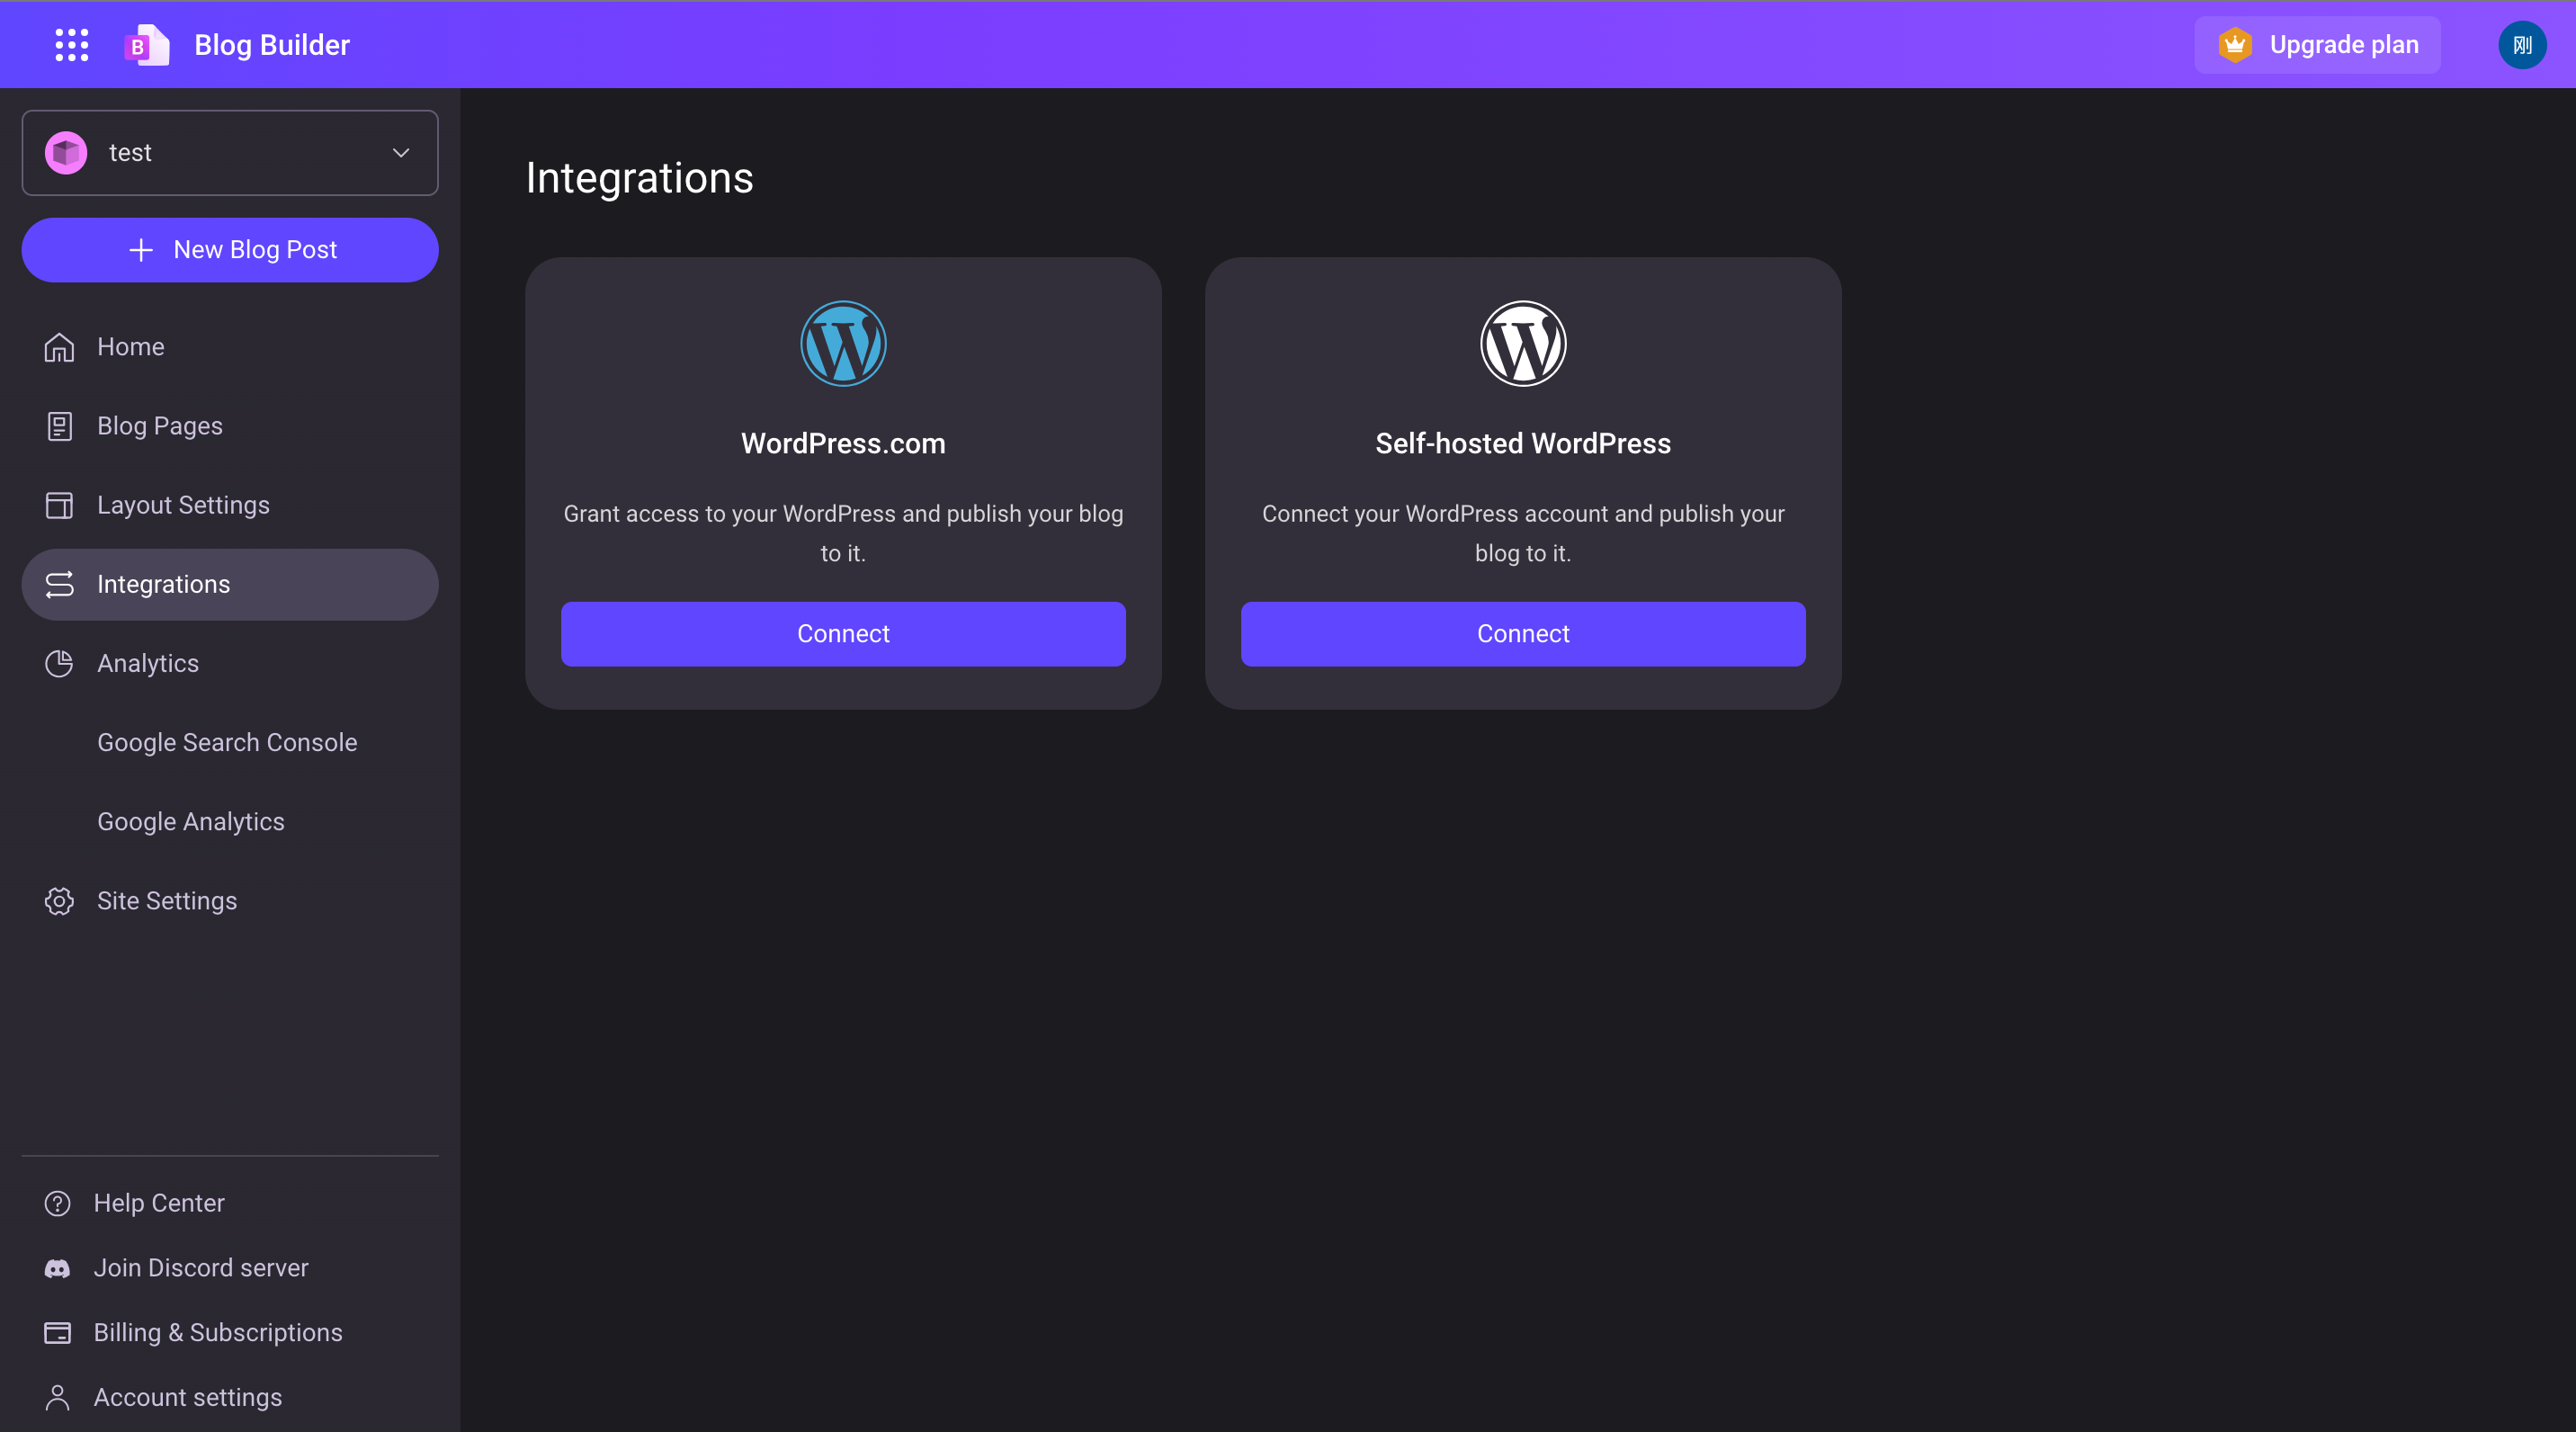
Choose to connect to Self-hosted WordPress
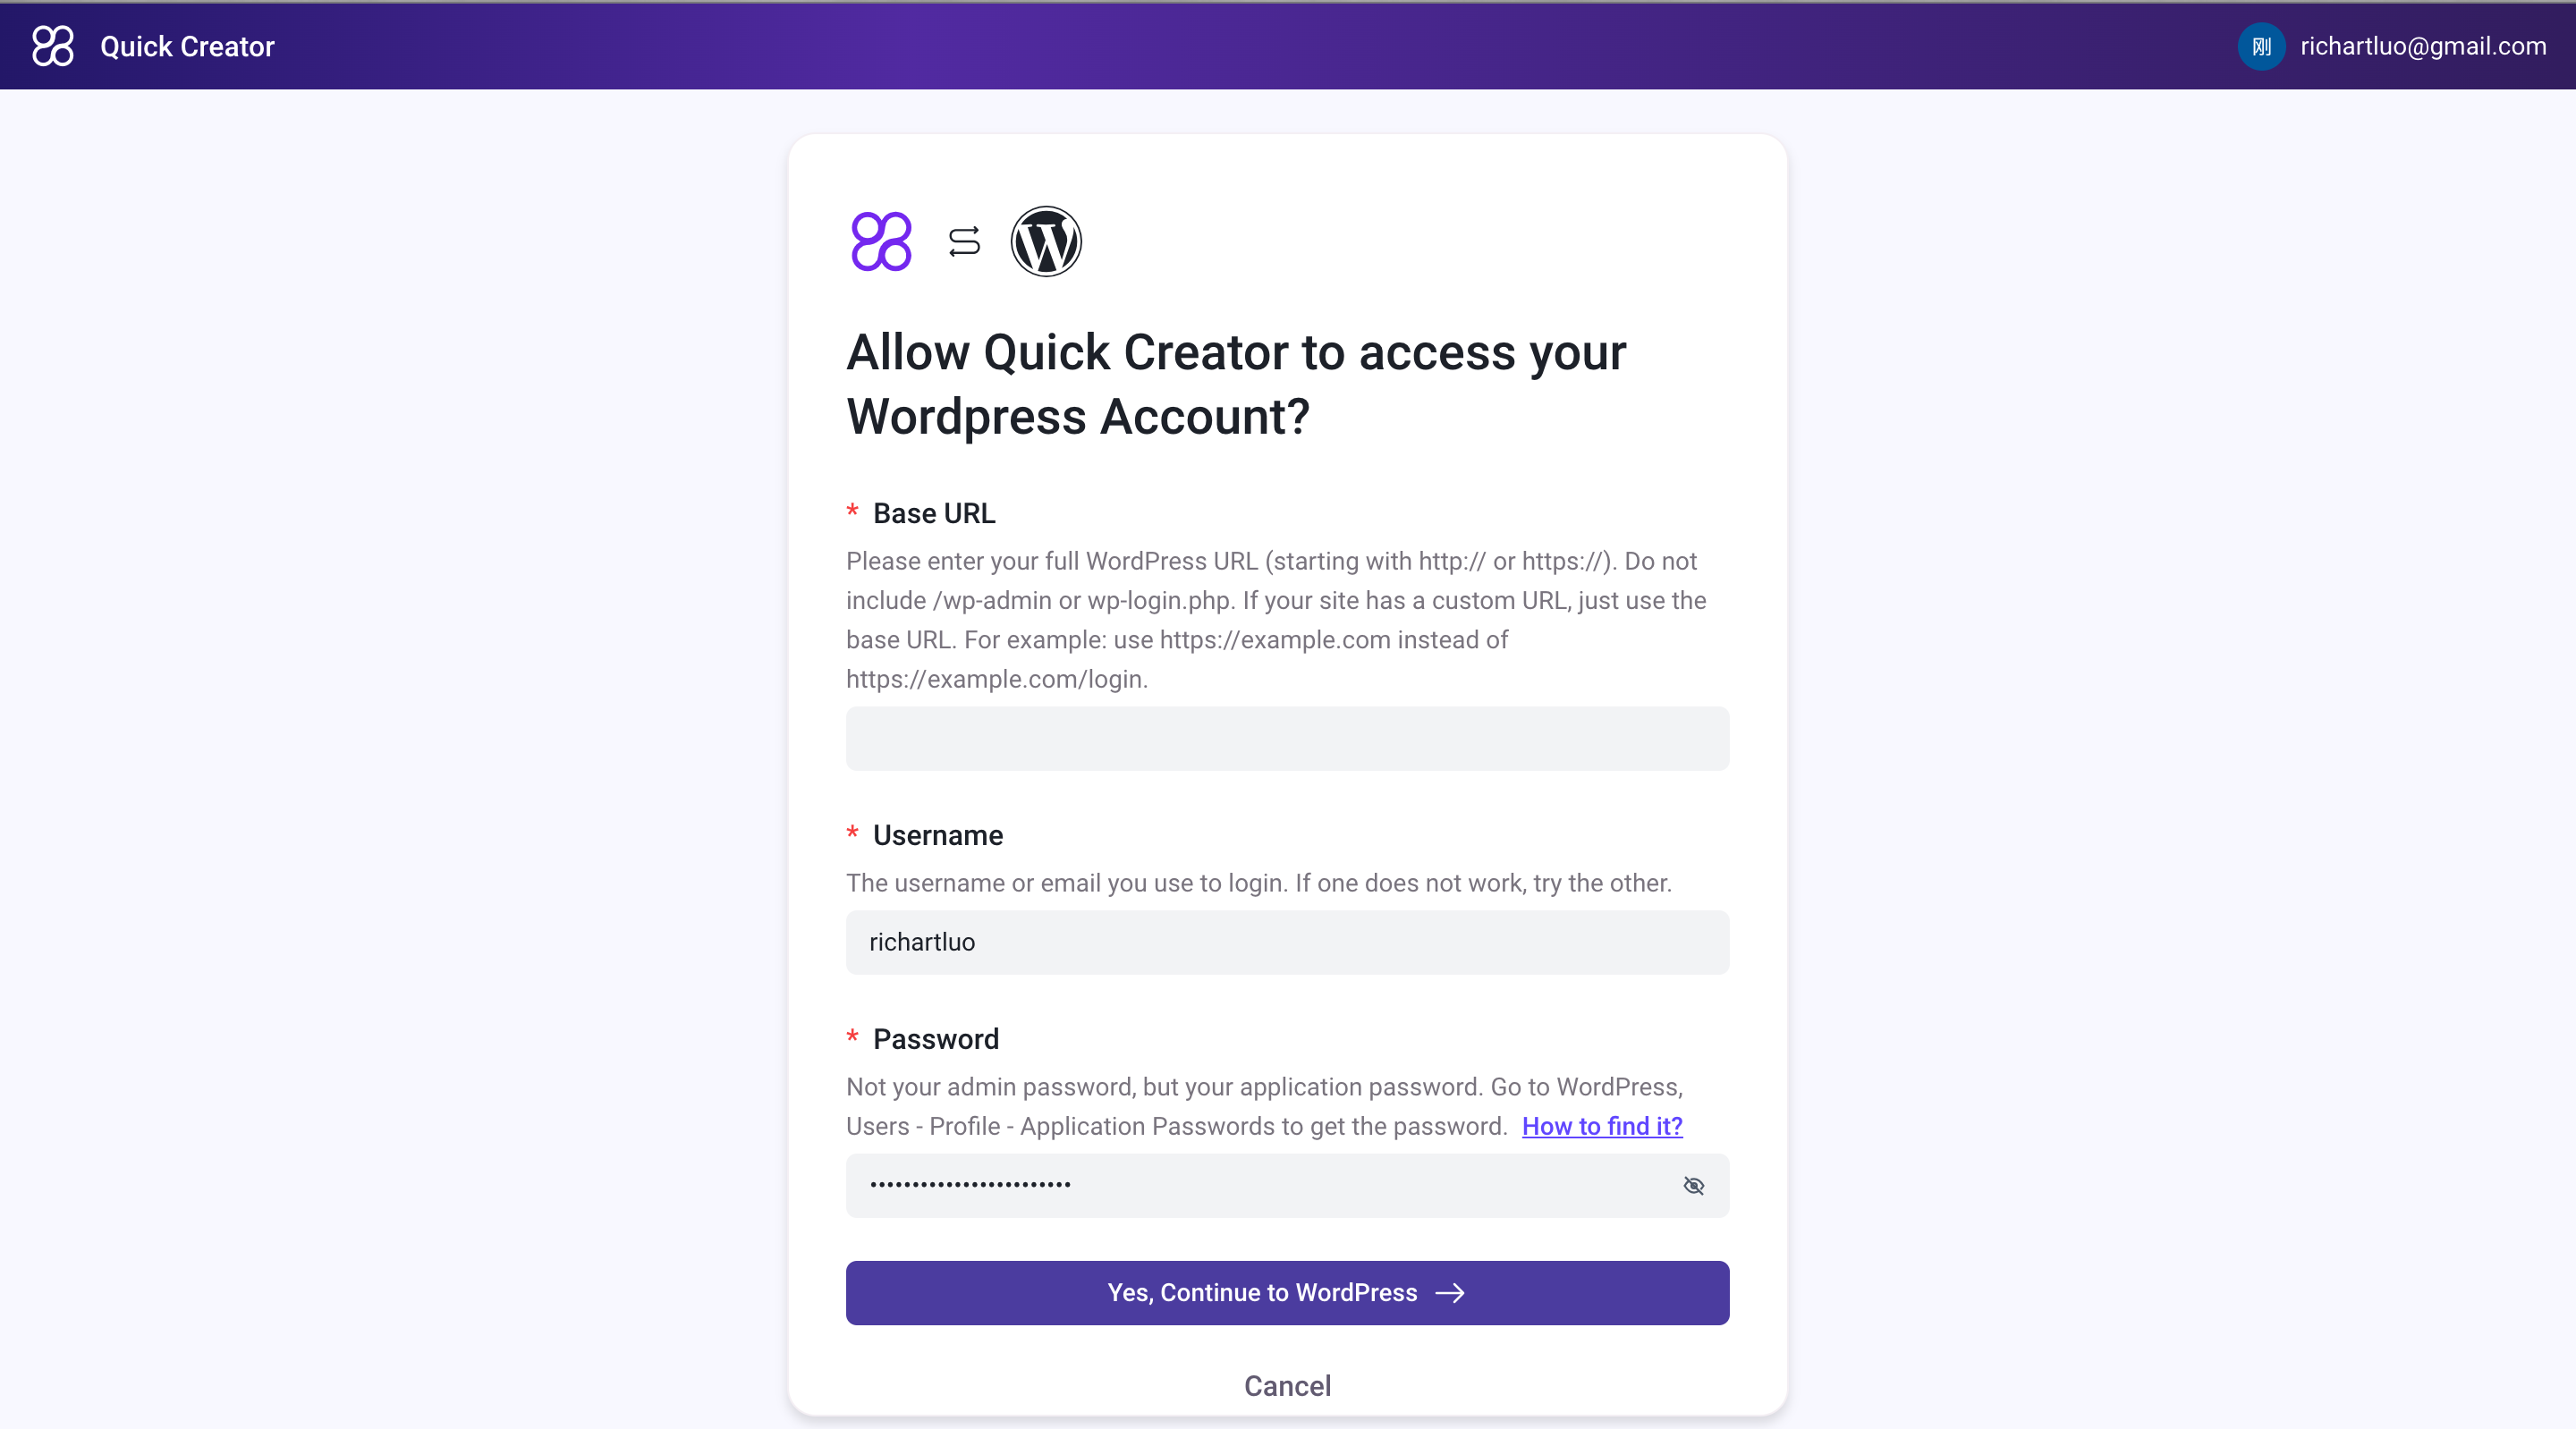
Enter connection information
Enter BASE URL
Please enter your full WordPress URL (starting with http:// or https://). Do not include /wp-admin or wp-login.php. If your site has a custom URL, just use the base URL. For example: use example.com instead of example.com/login.
Enter Username
Please enter your WordPress login username. (Not the username for login into QuickCreator.)
Enter Application Password
Please note that this doesn't refer to your admin password, but your application password, rather.Go to WordPress, Users - Profile - Application Passwords to get the password
How to get WP Application Password?
1: Log in to your WP admin dashboard.
2: Choose Users
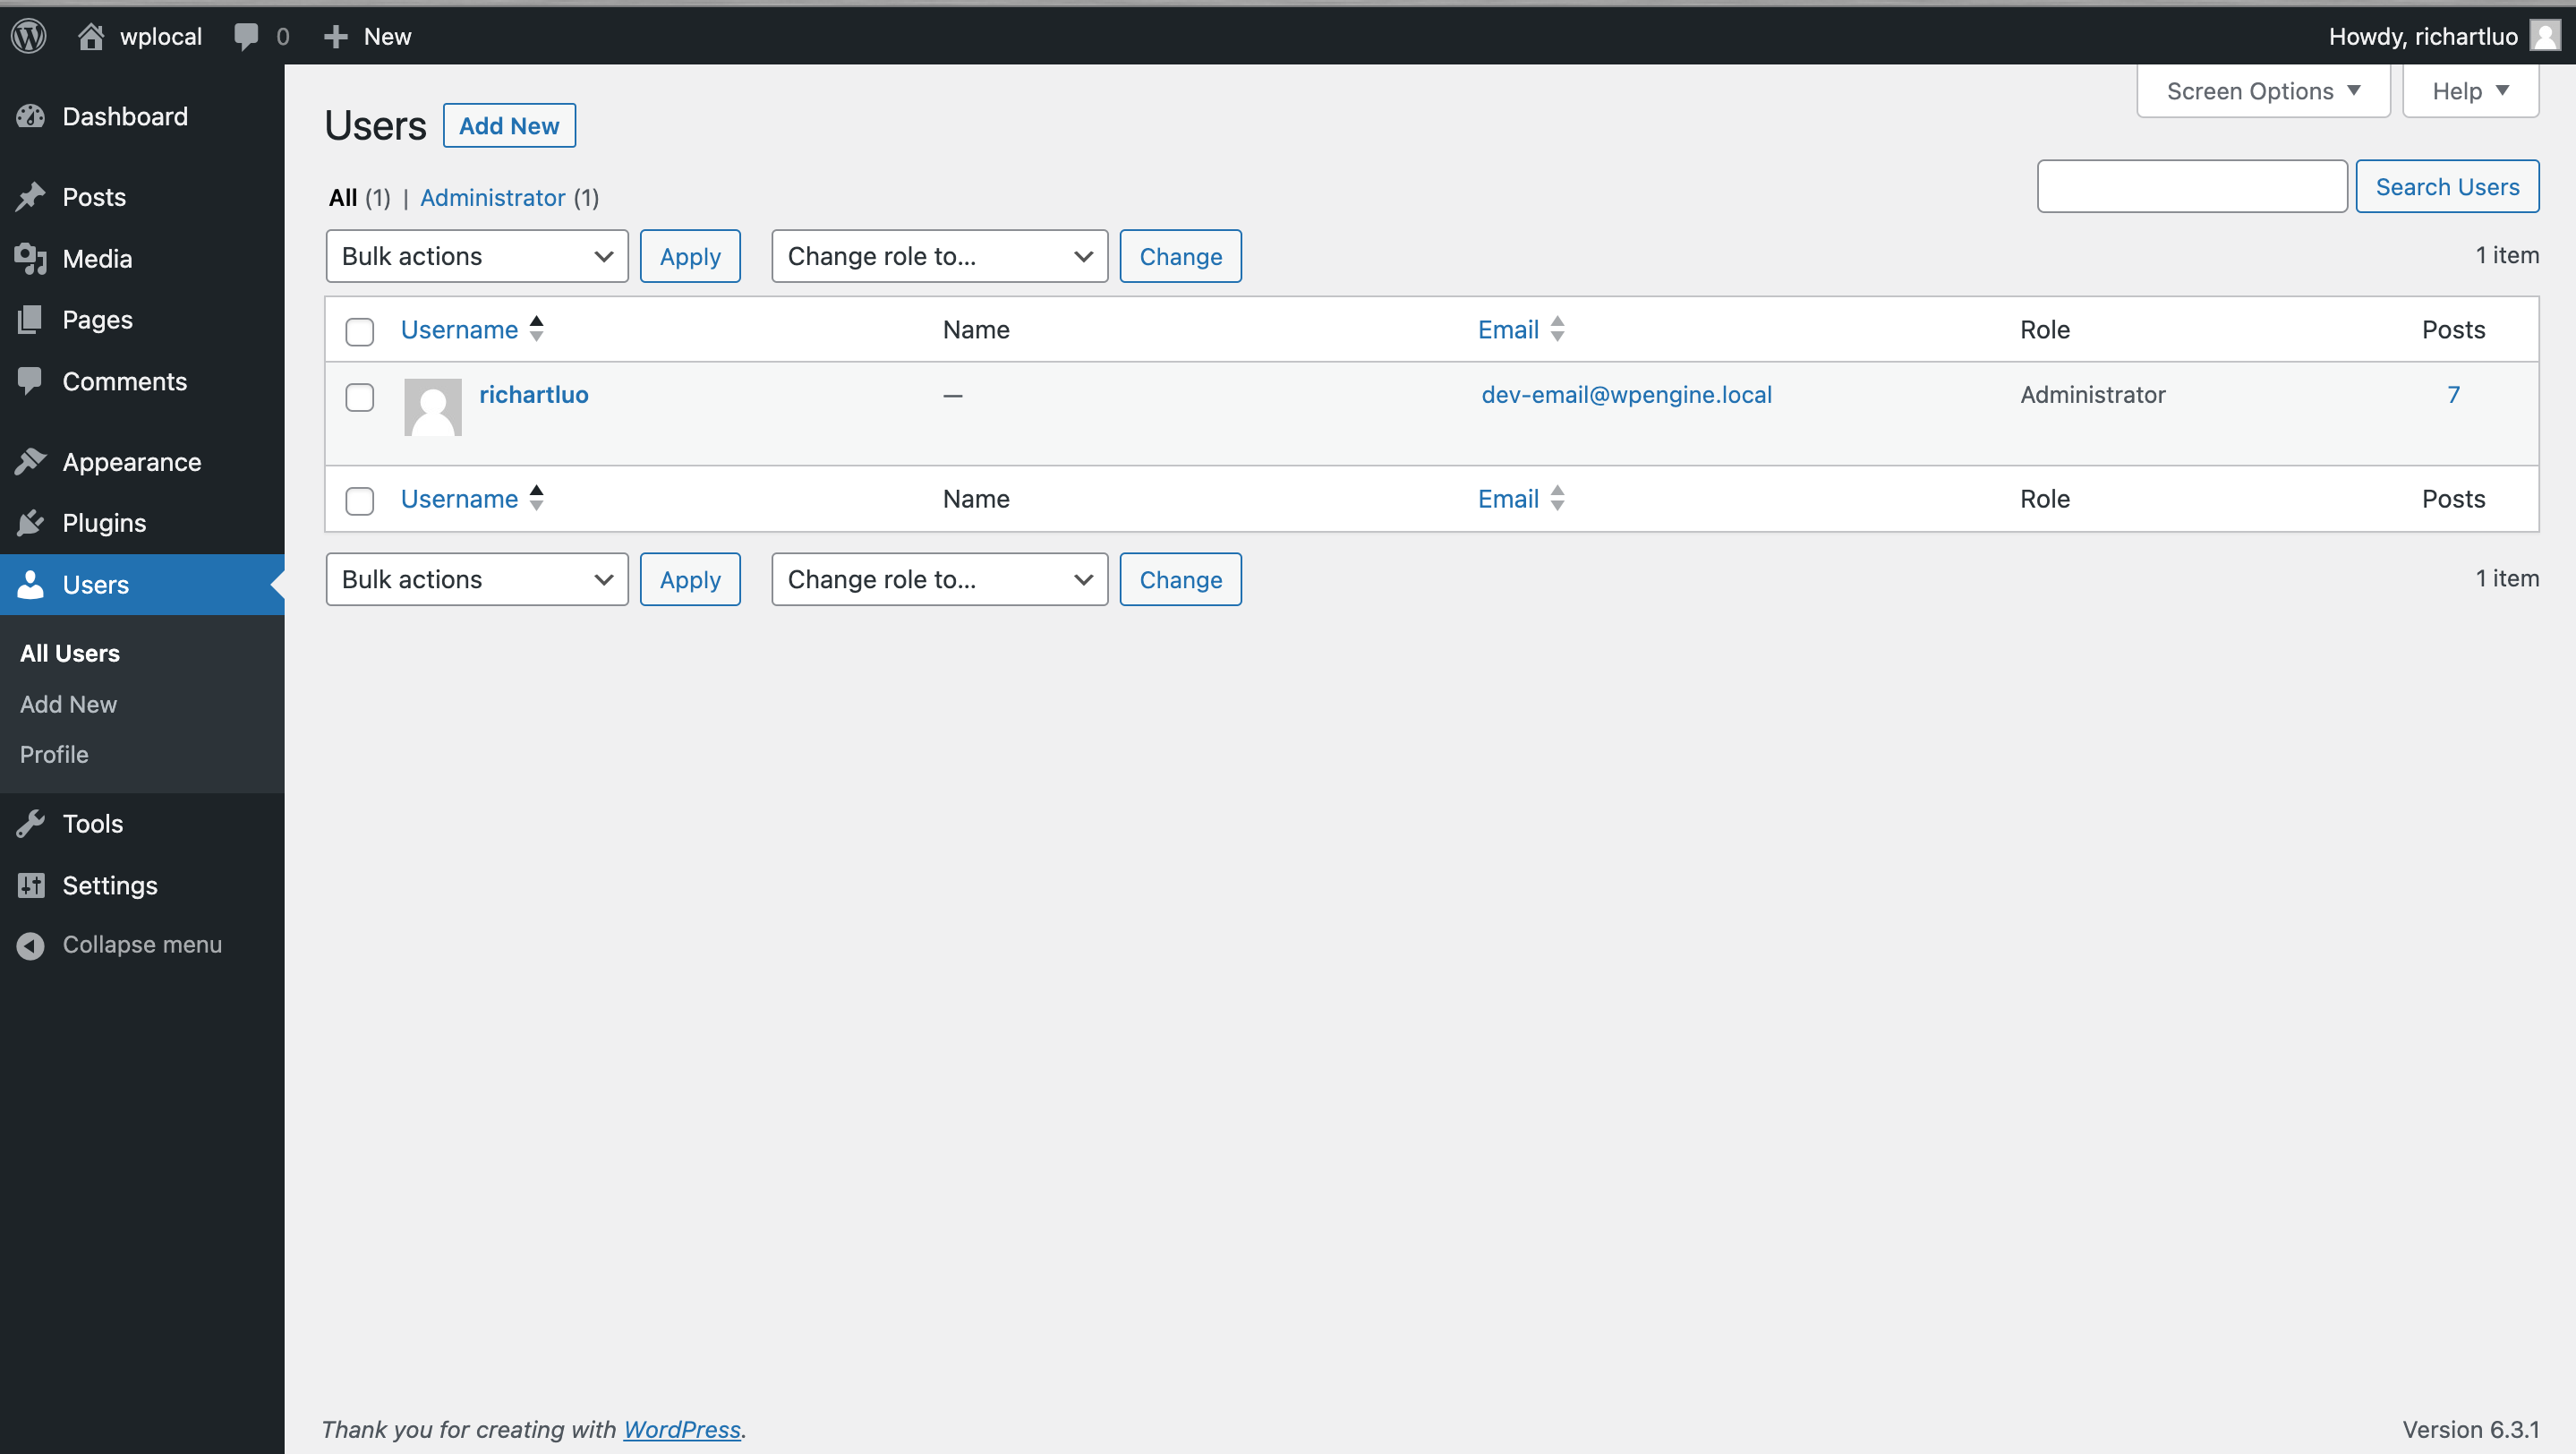
3: Select your login user and click to enter direct editing. Scroll down the page until you see "Application Passwords."
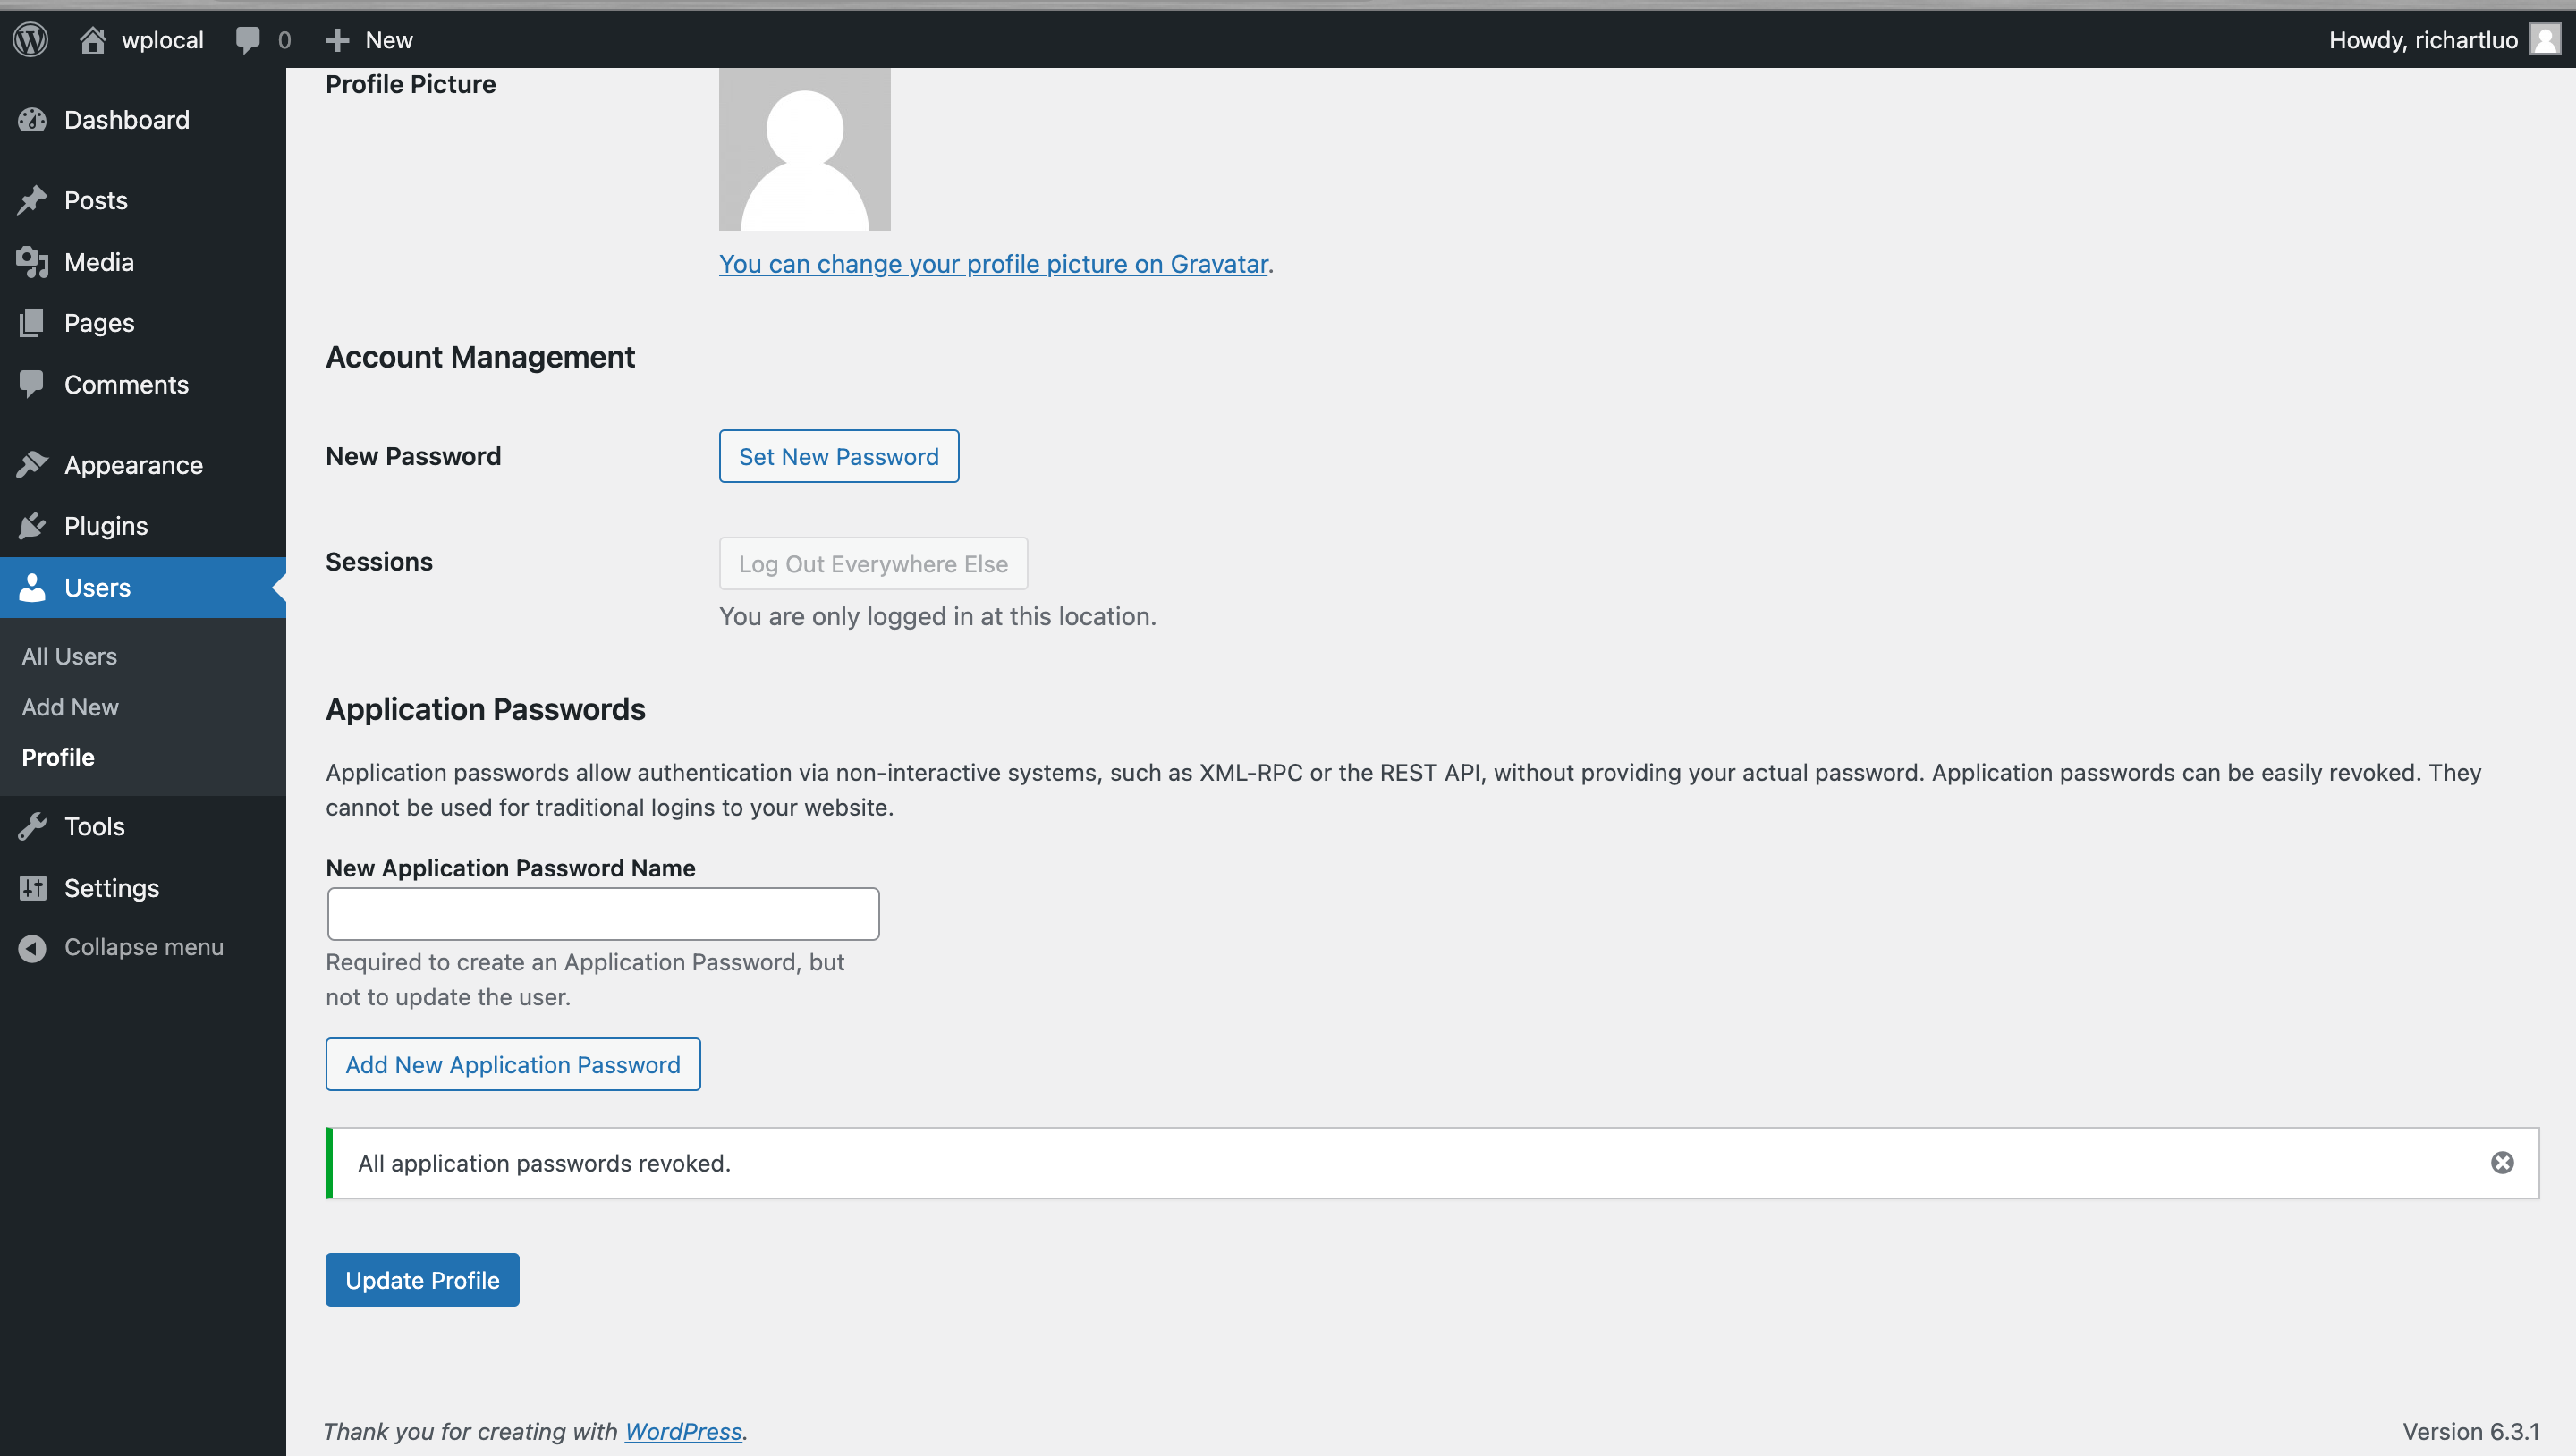
In "New Application Password Name", enter a name, such as myappThen click "Add New Application Password".
4: From here, an “Application Password” will appear.
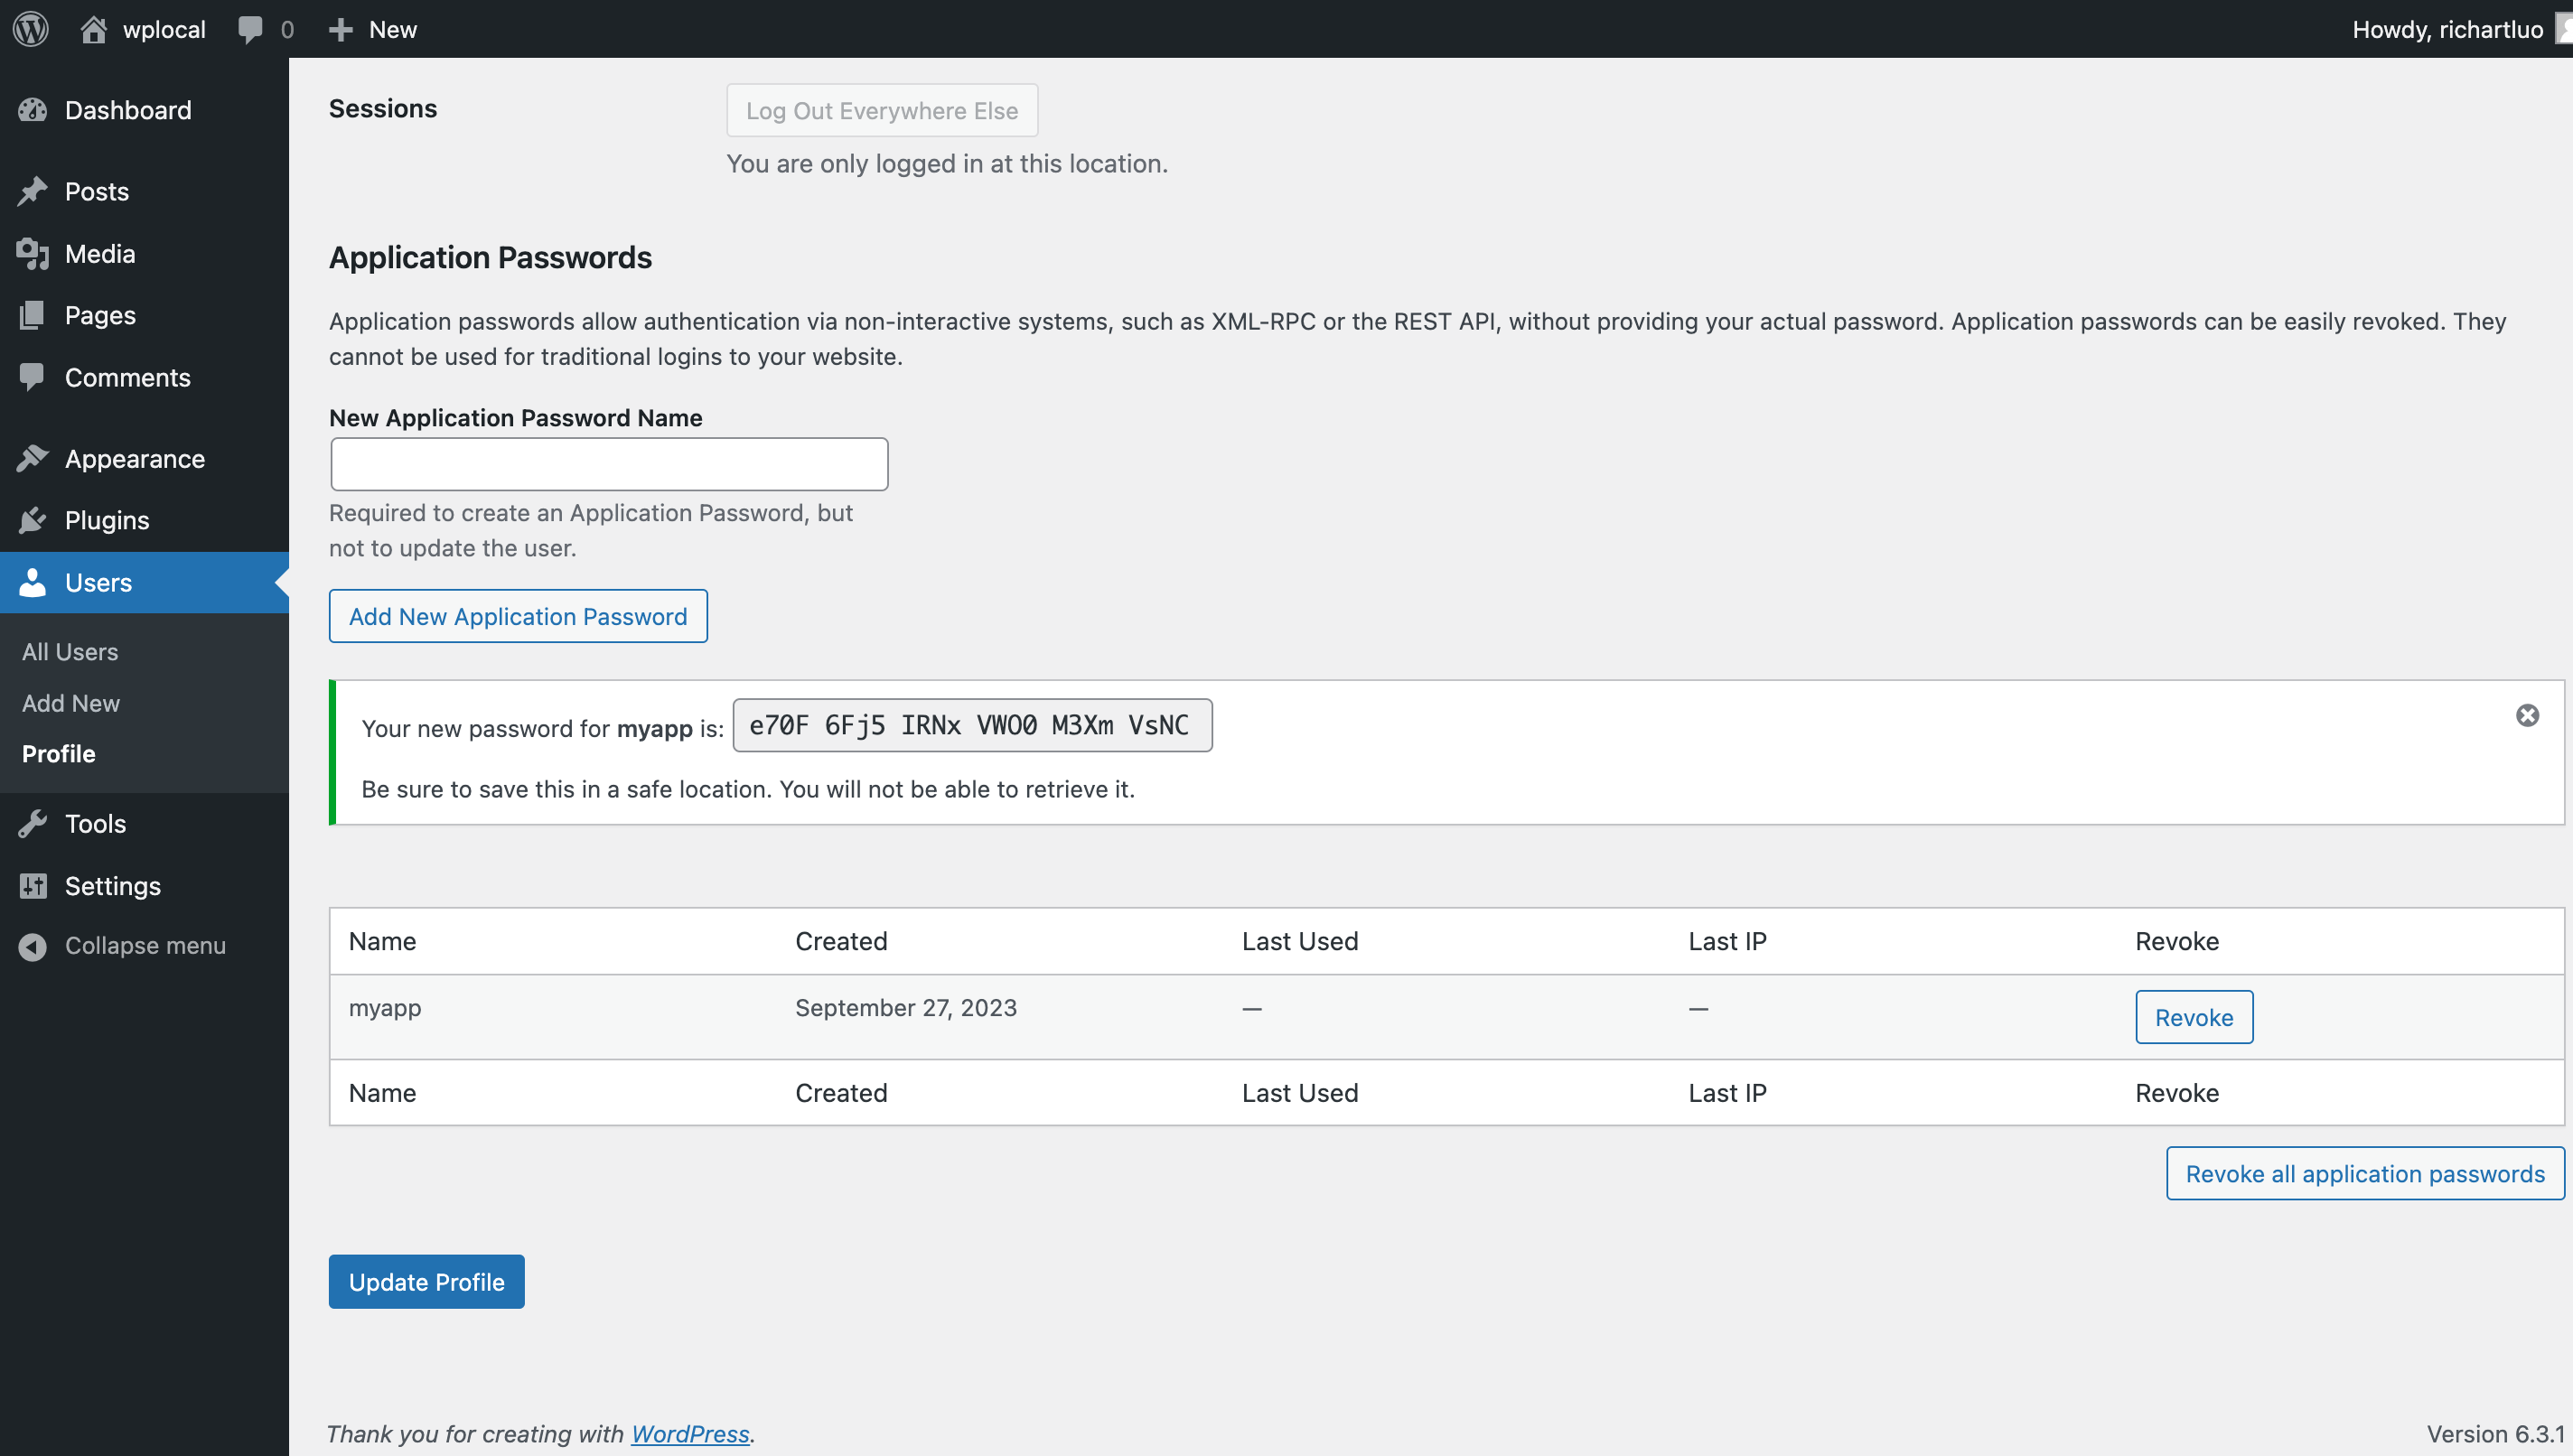
5: Copy the password from within WP. At this point, you have successfully obtained the password.
Enter the password obtained from WP into the corresponding password input box in QuickCreator connection information.
Save and verify.
After it is successful, you will be redirected to the "Integrations" page.
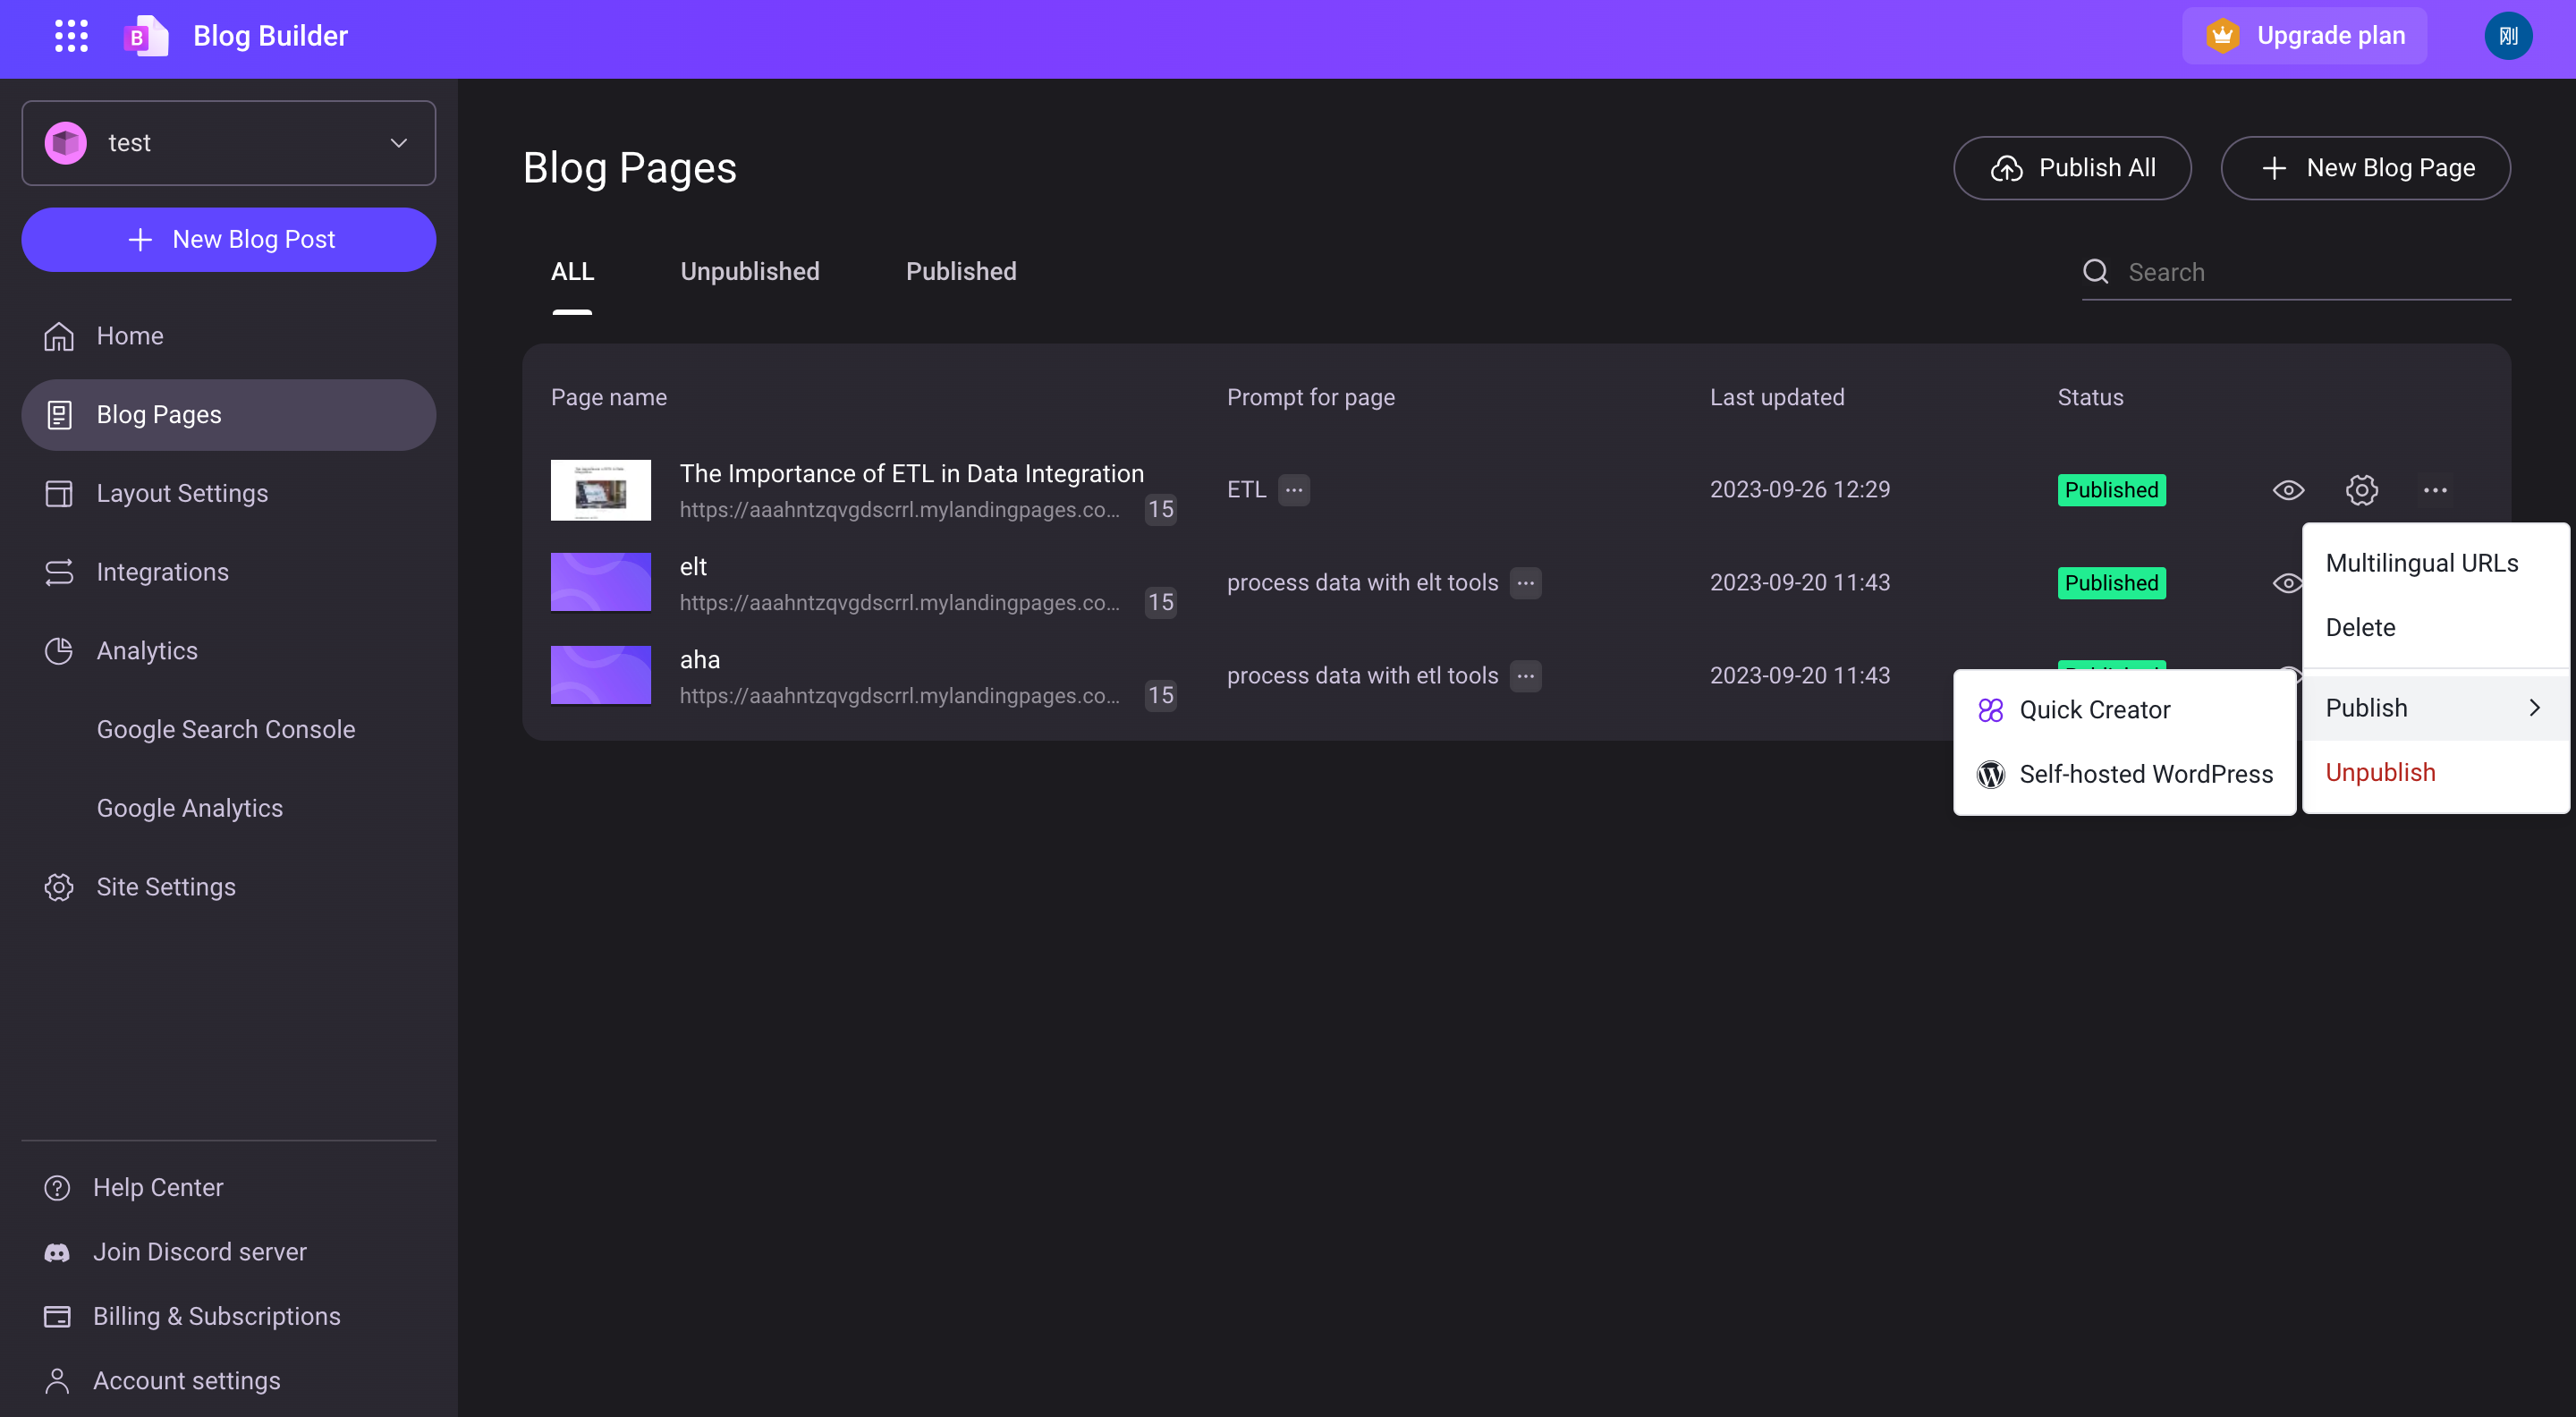
Step 2 : Publish to WordPress
Click "...." next to Blog, and select the platform on where you want to publish it.
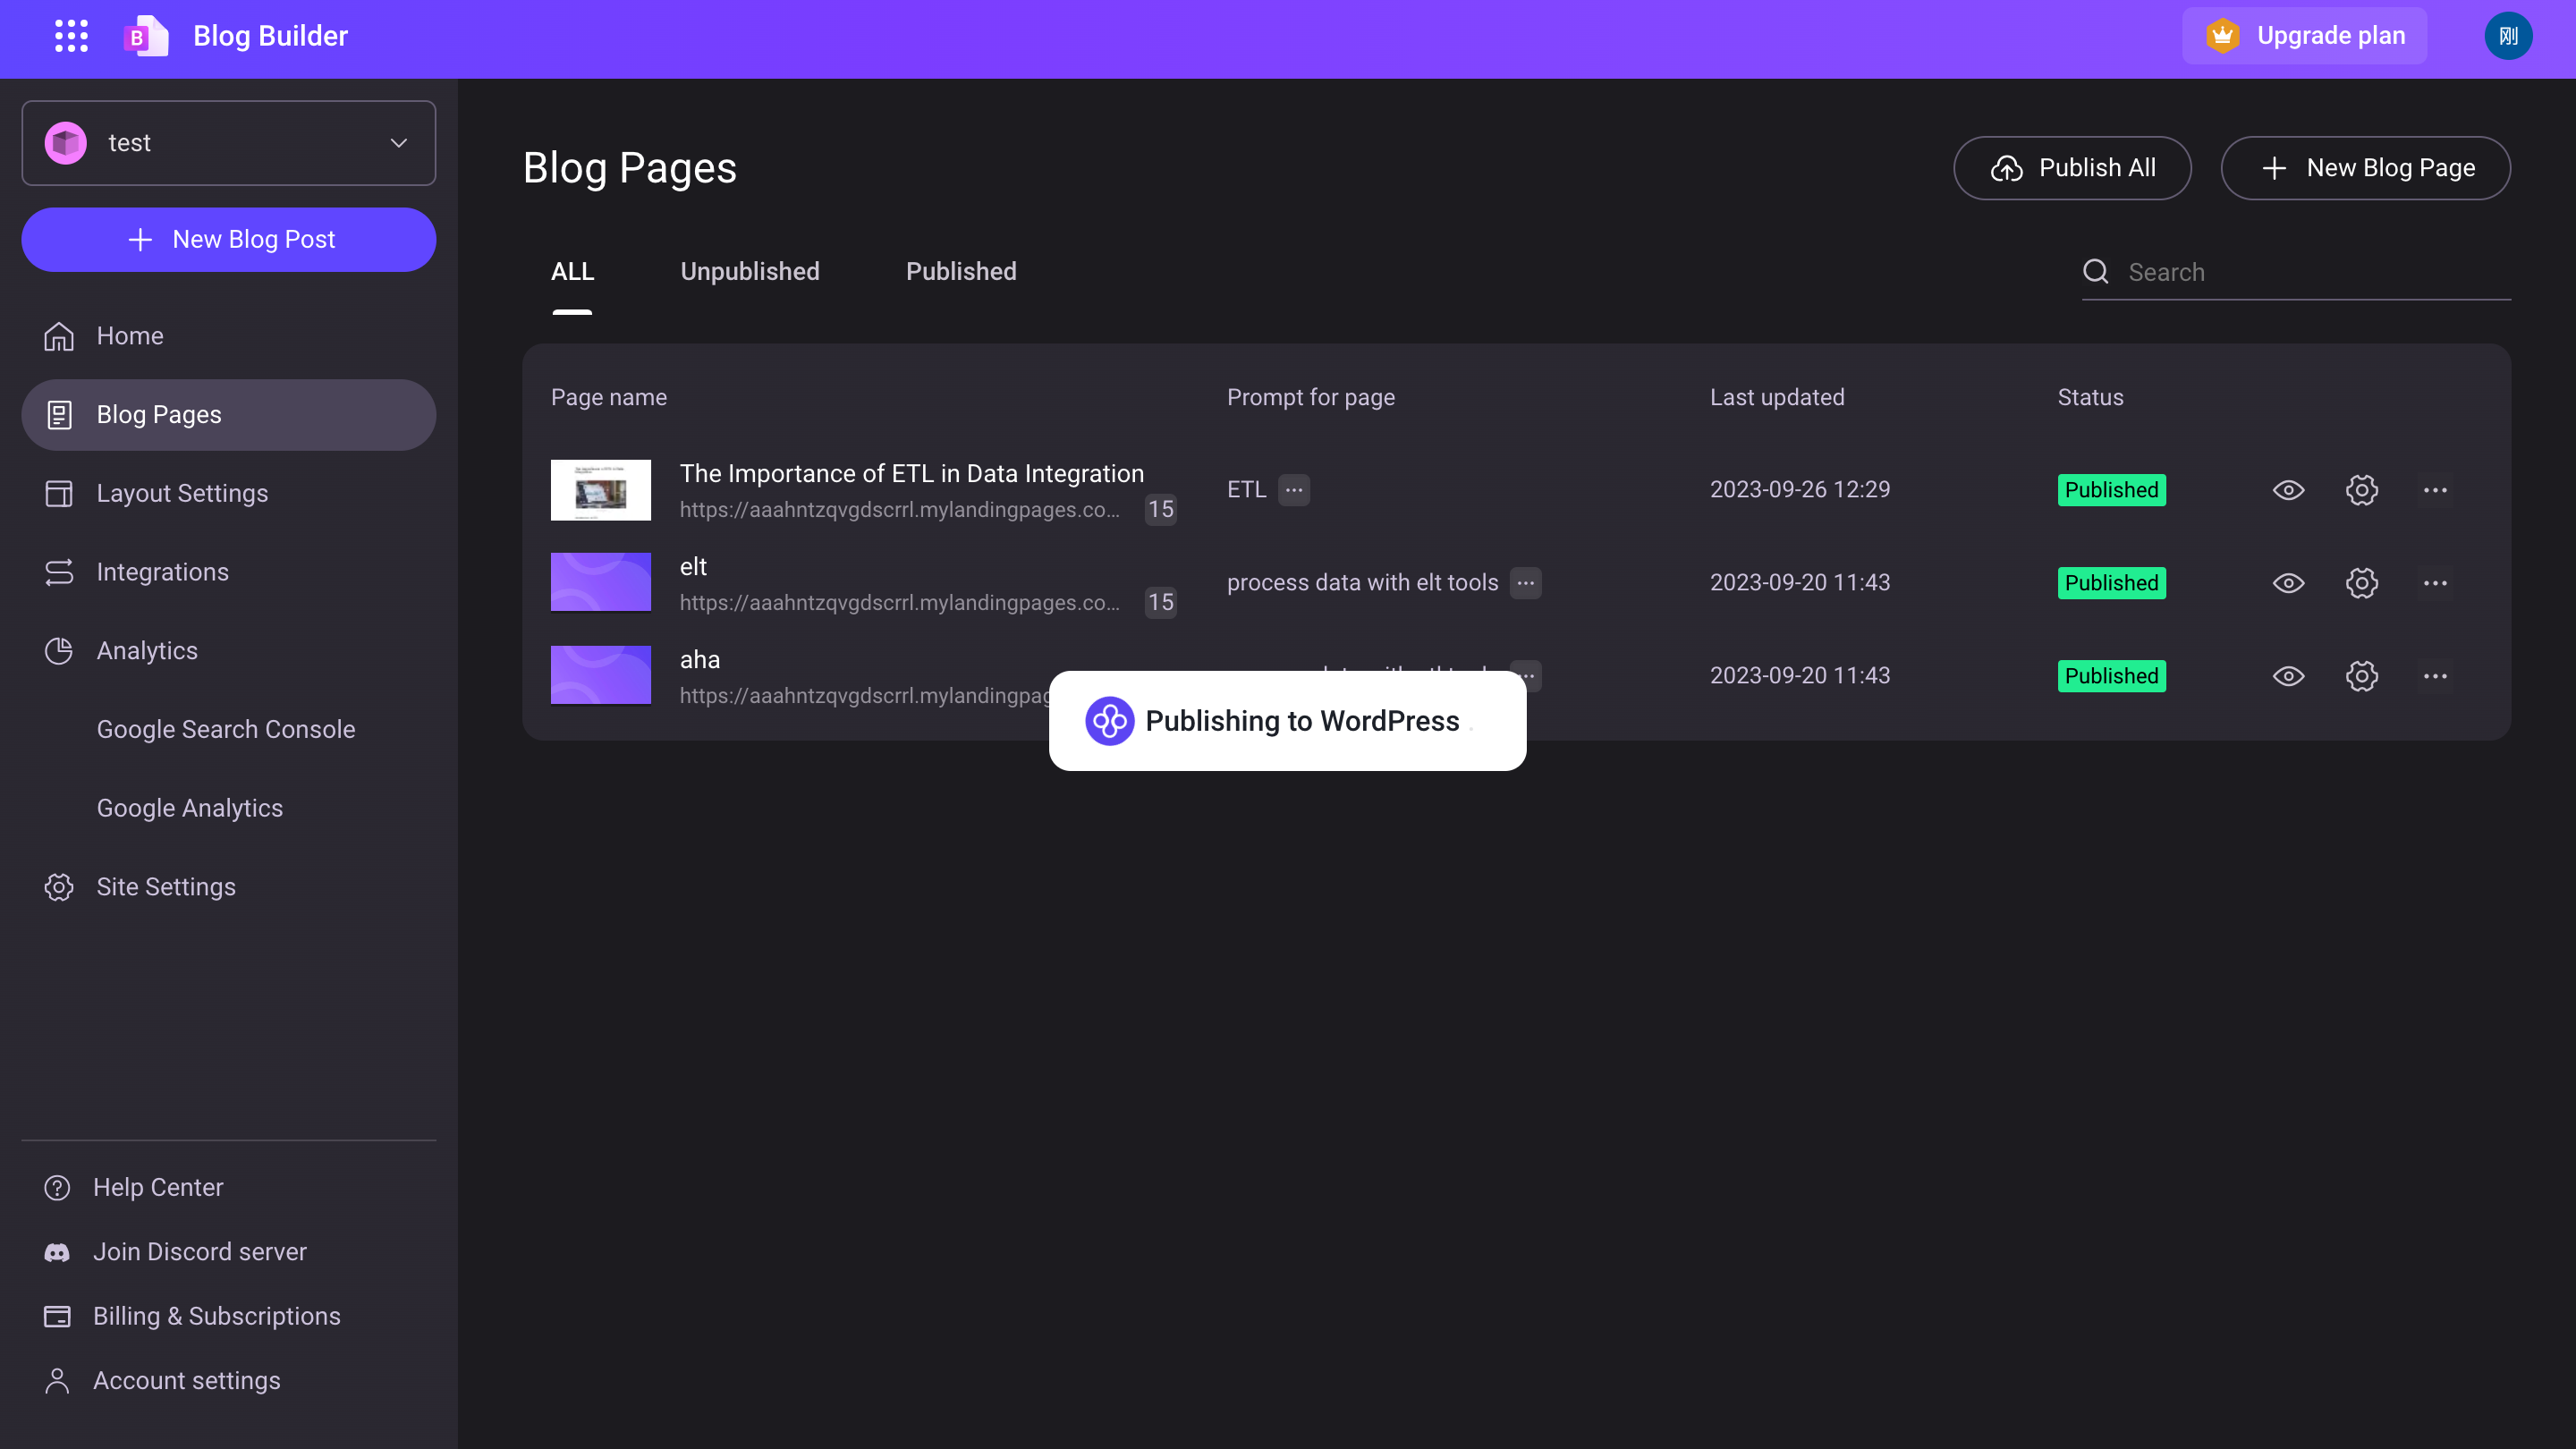
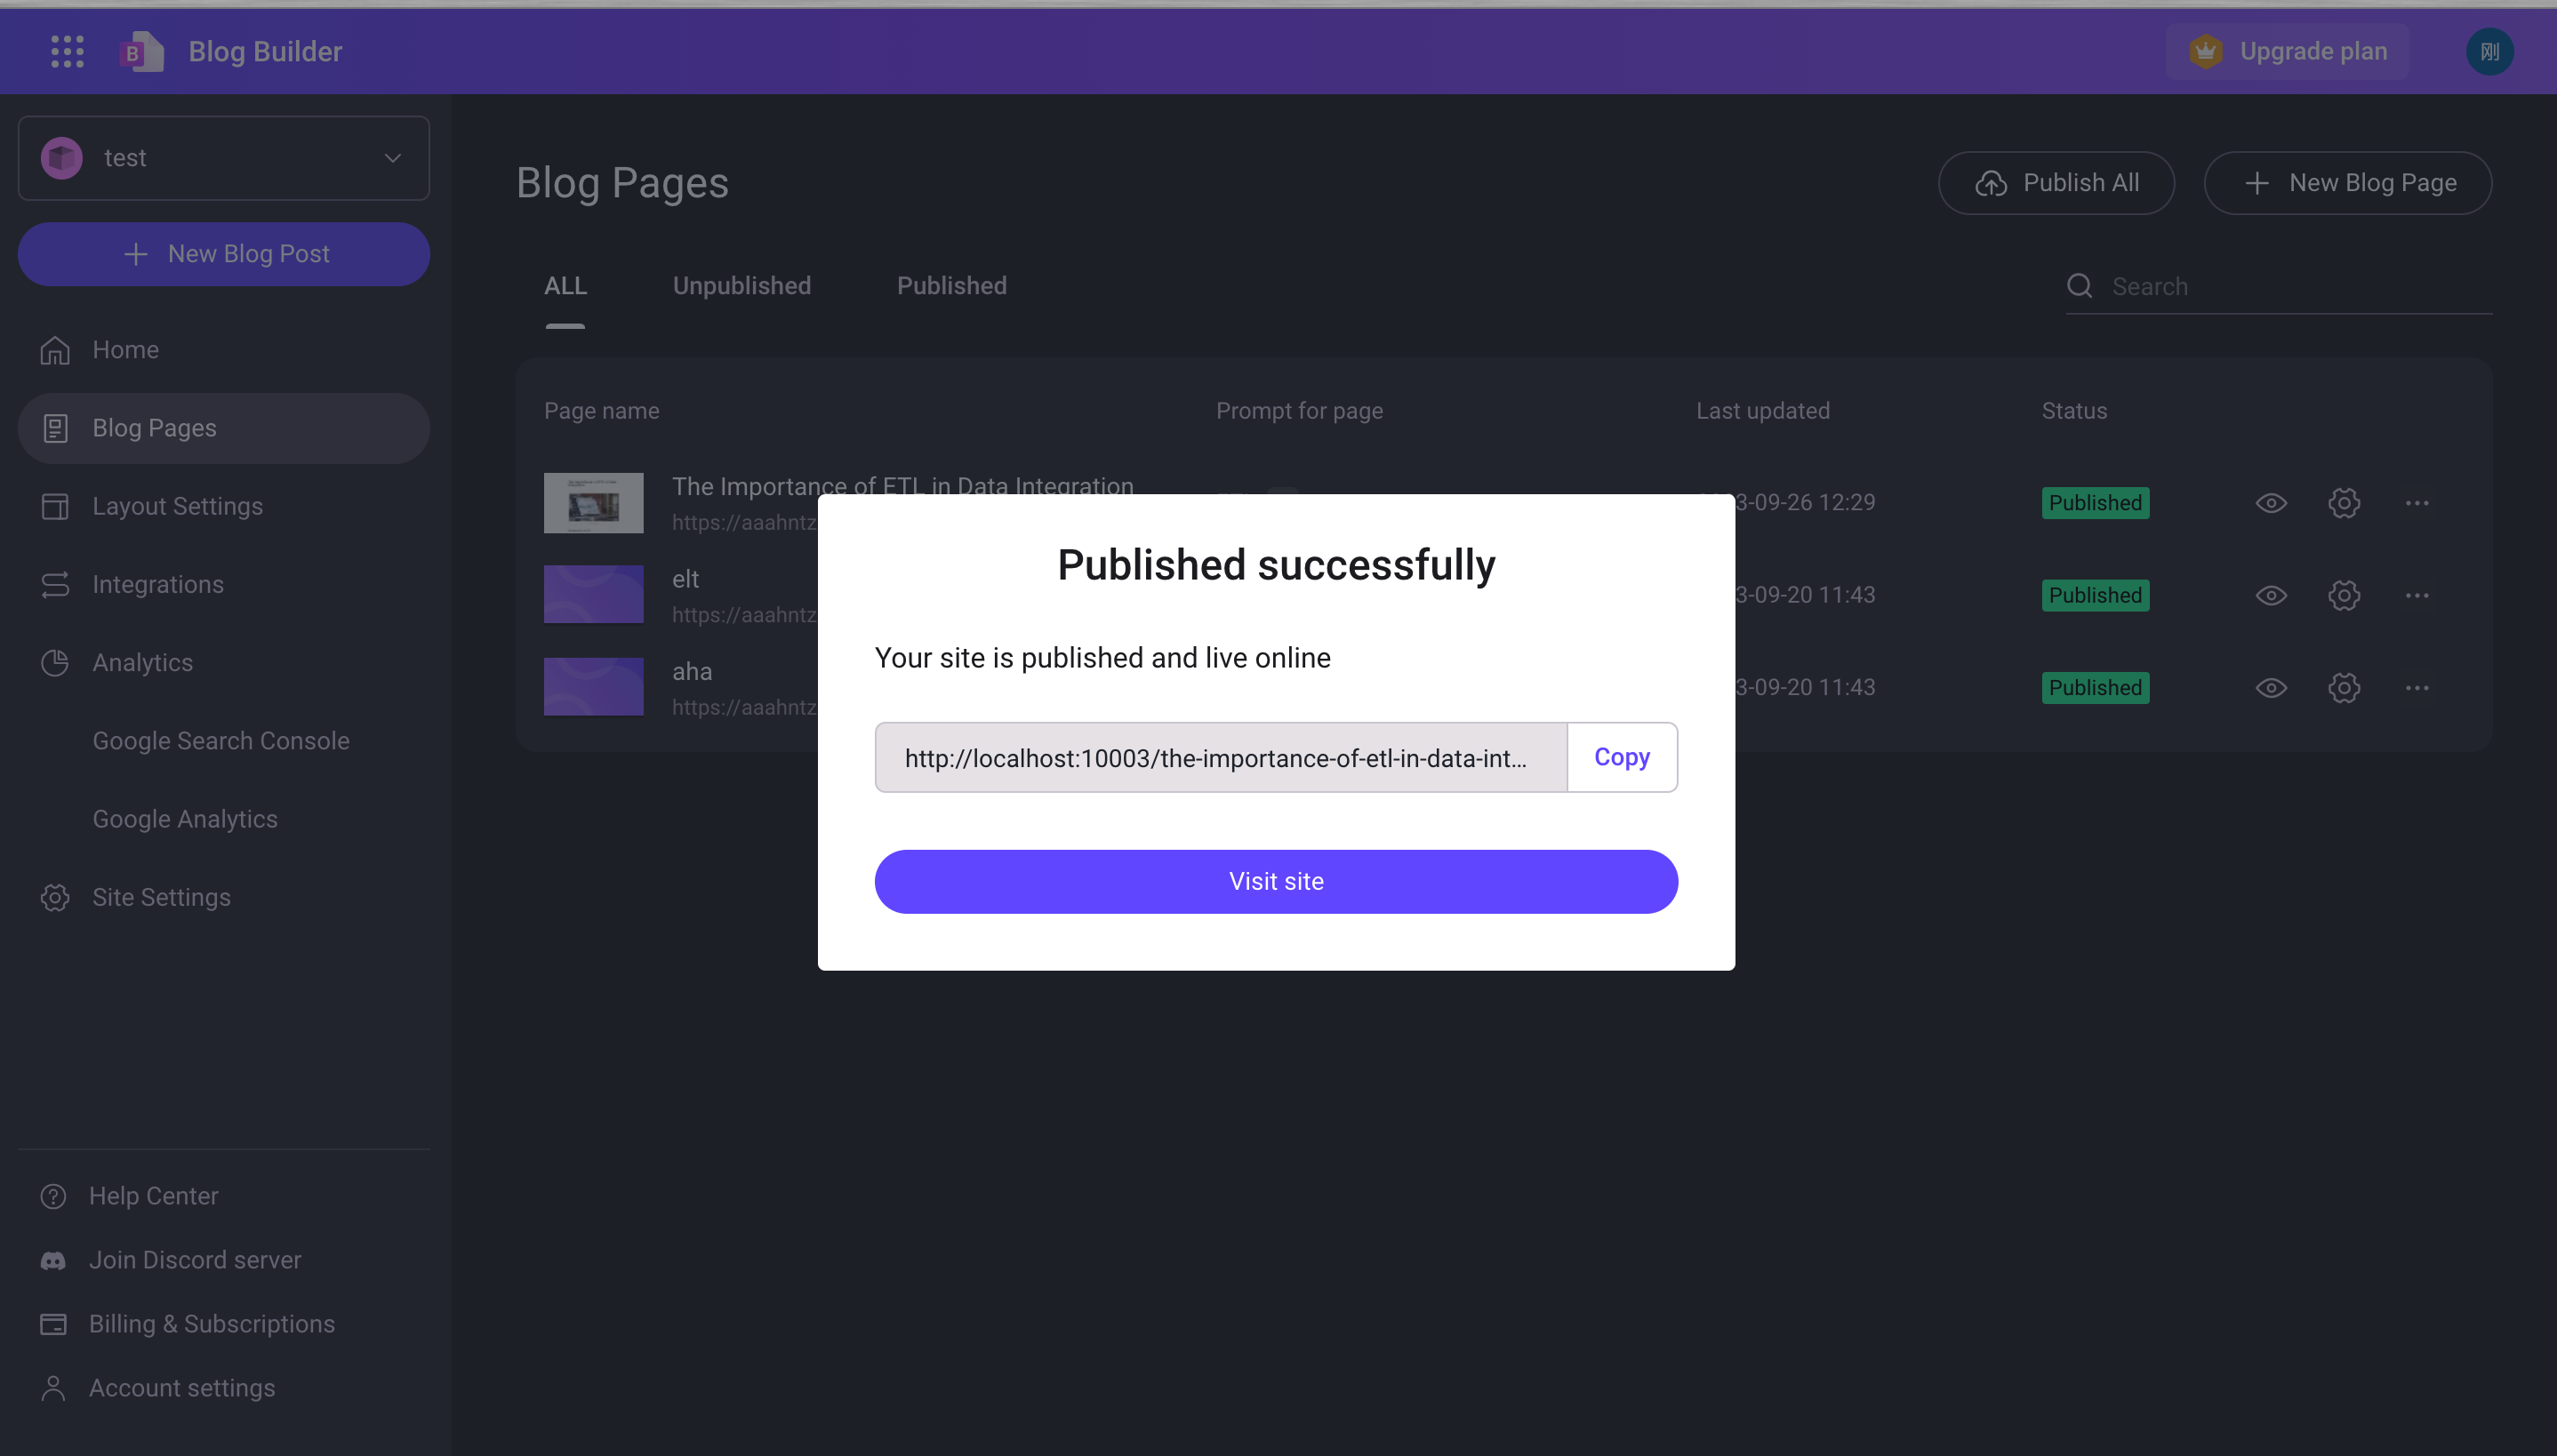
Wait for awhile as publishing is still in progress.
Now that it has been published successfully, you can click the link to visit directly.
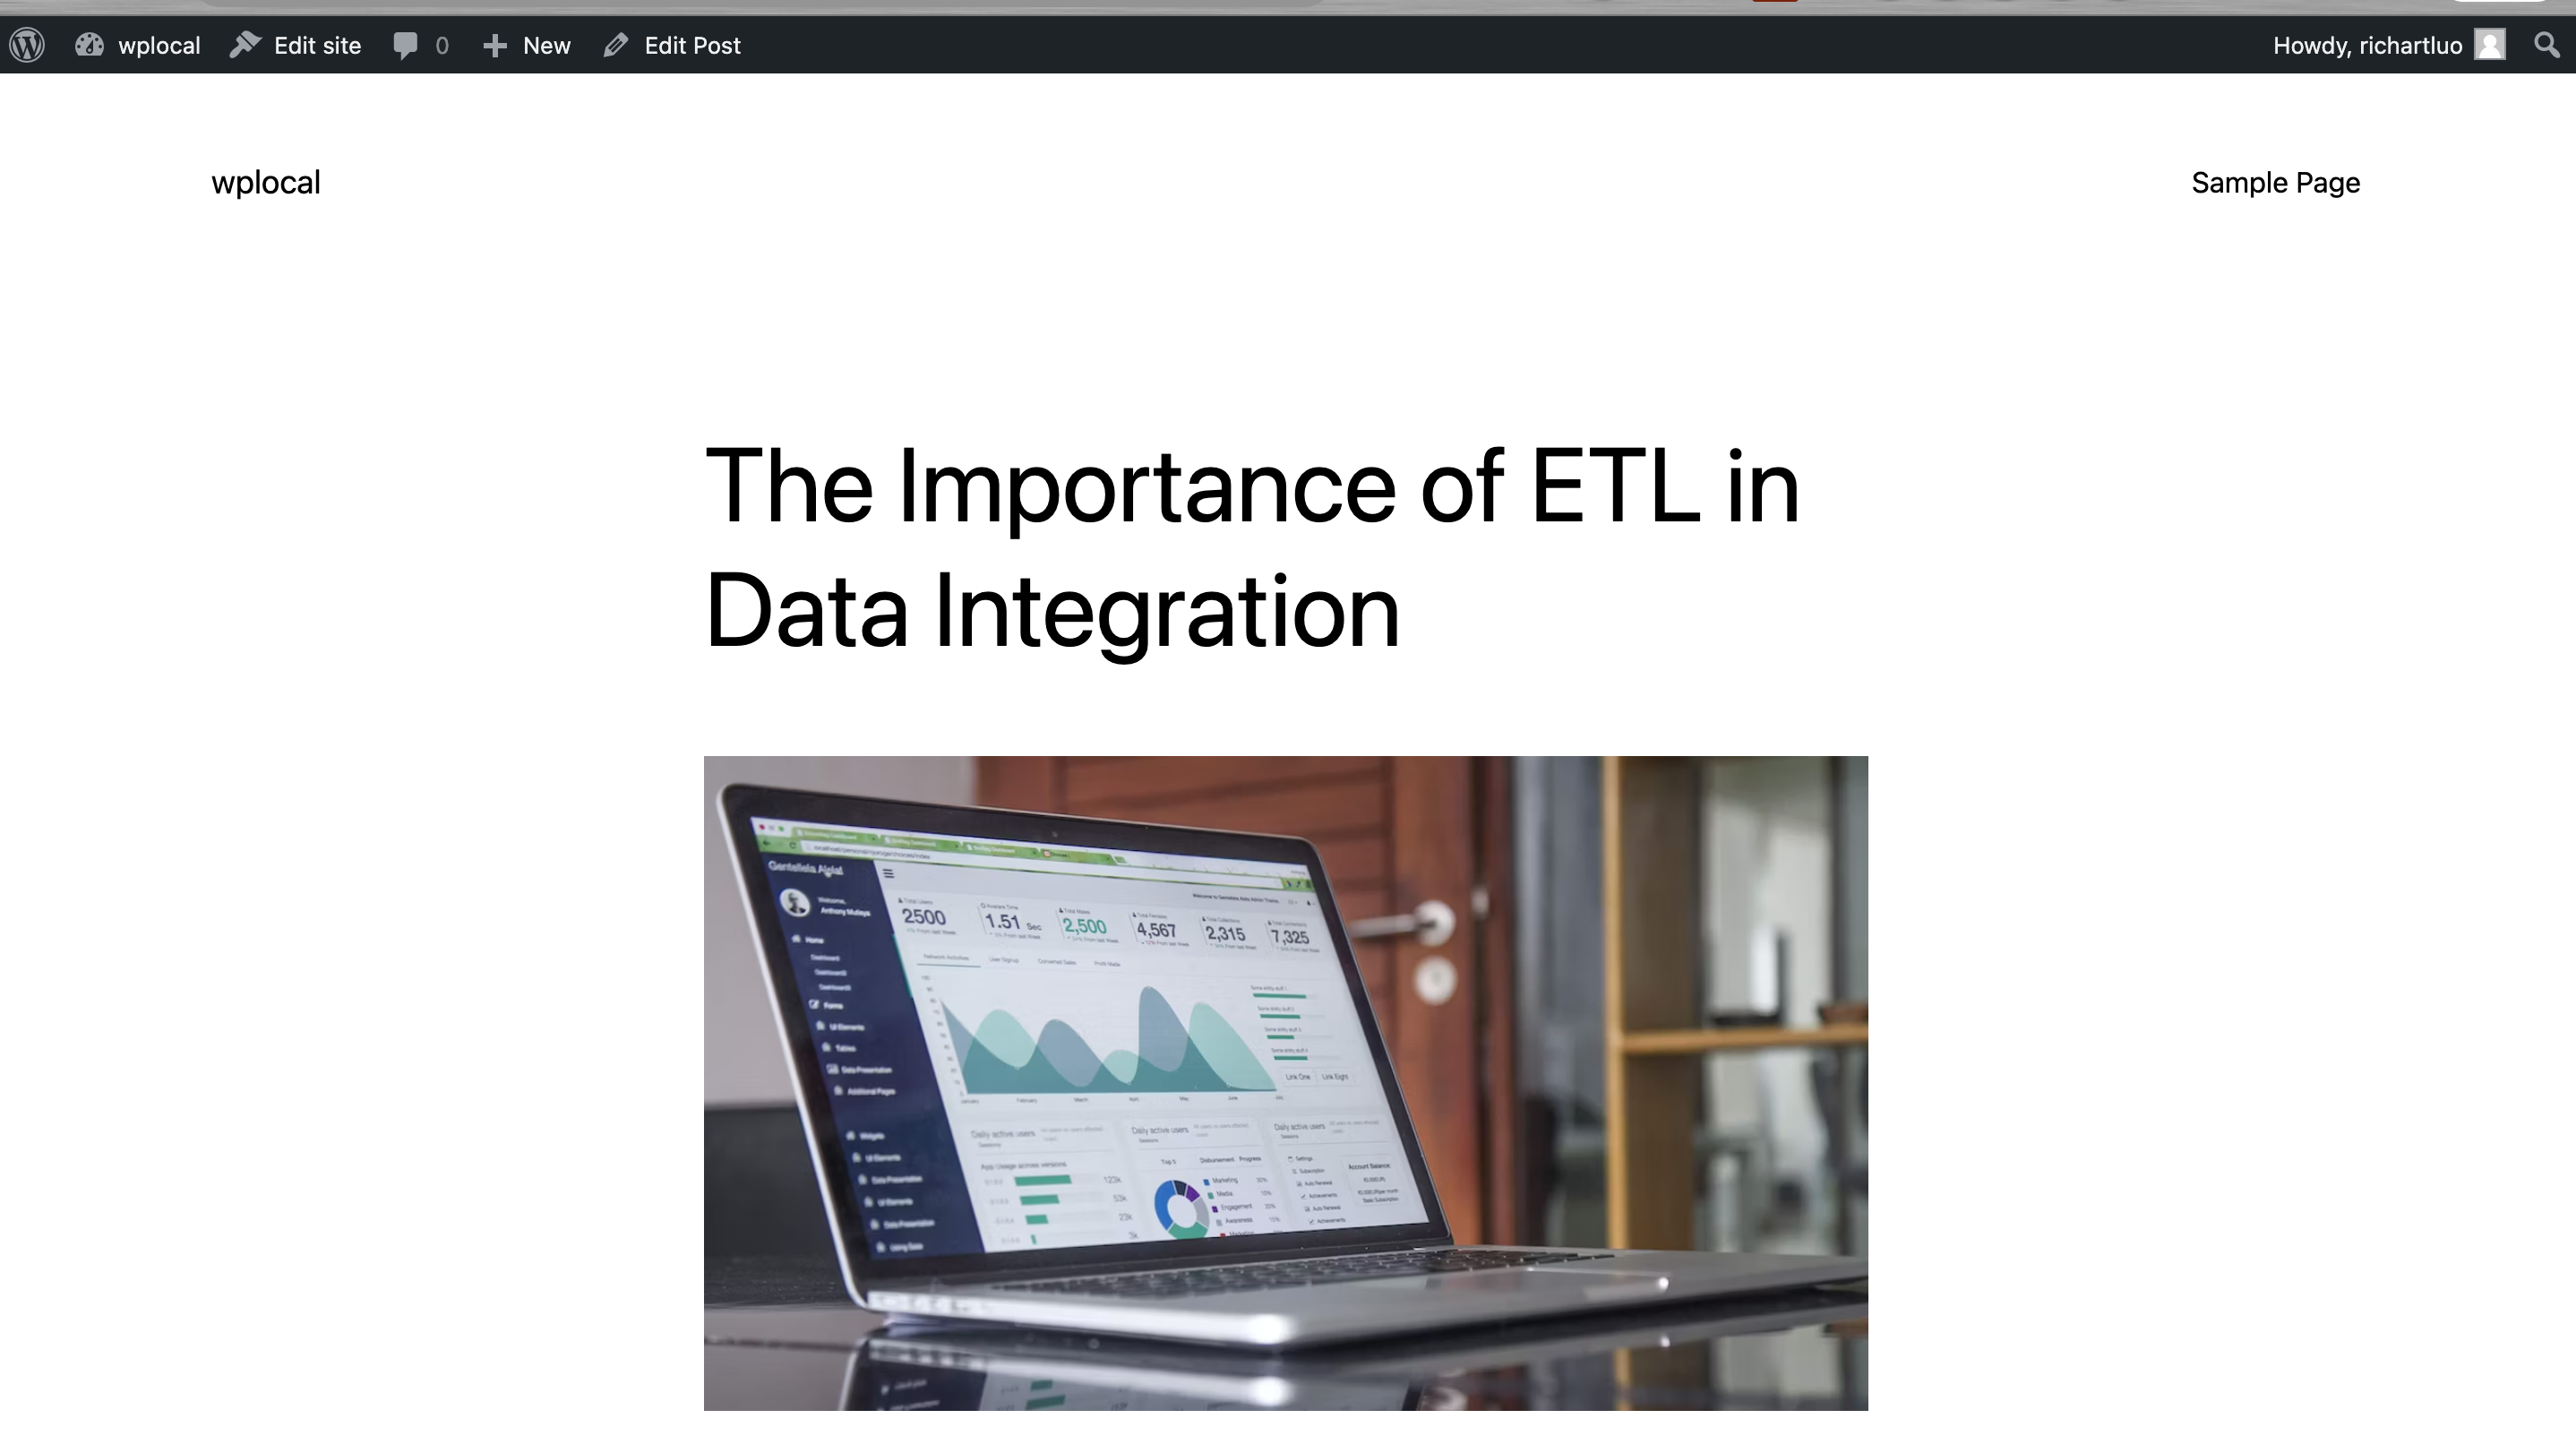
Click the link to view the content that you just published.
Attach the video of your choice like so:
To leave a comment, please authenticate.

